Some touching up
There is not much space inside the cabinet of Tantillus and during the build process I have already been mounting and taking apart the different parts a number of times. I don't want to keep removing and remounting parts all the time.
So now is the time to look at those little details before mounting everything.
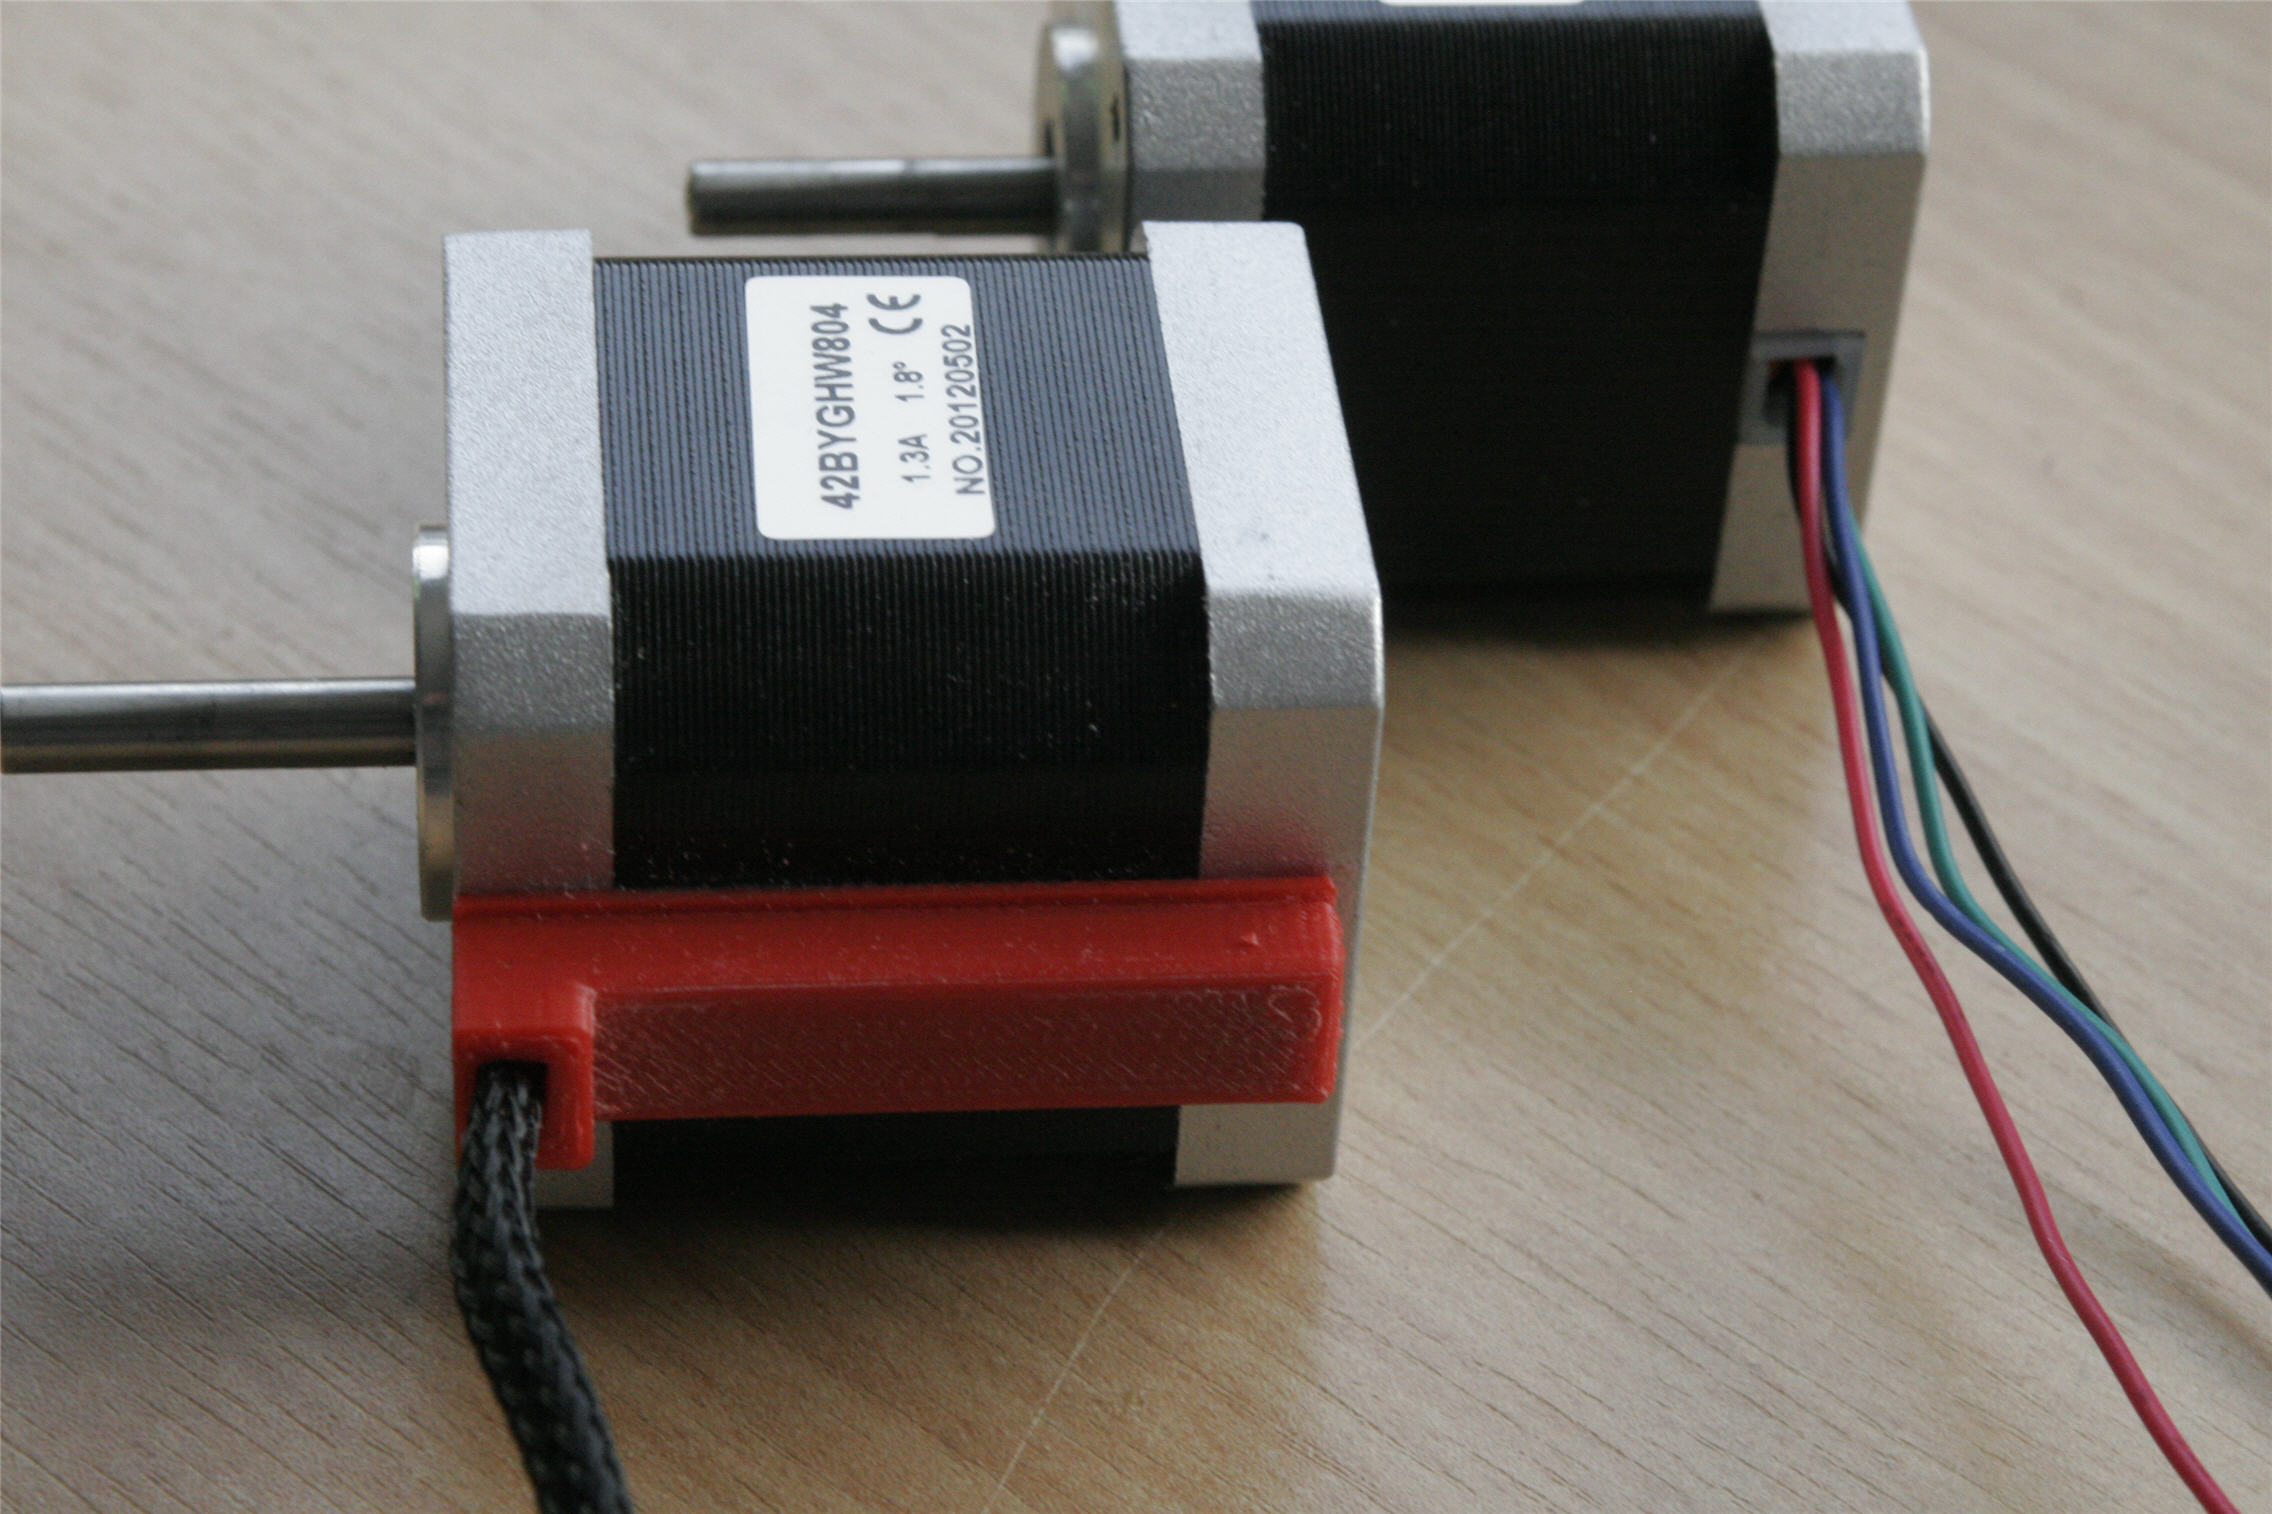
First thing to do is to make sure the wiring for the motors is done in a proper way: The 4 wires come straight from the coils inside the stepper motors without any mechanical strain relief or whatsoever. After measuring the right length of the cable I cut a few pieces of braided sleeve and glued some printed cable guides on the motor. The wires come out on the back-end of the motor and I want to run the cable along the plexiglass sheets so I just glued these 3D printed guides to the motors. I just hope the motors will not get too hot otherwise the cyanoacrylate glue used will dissolve.
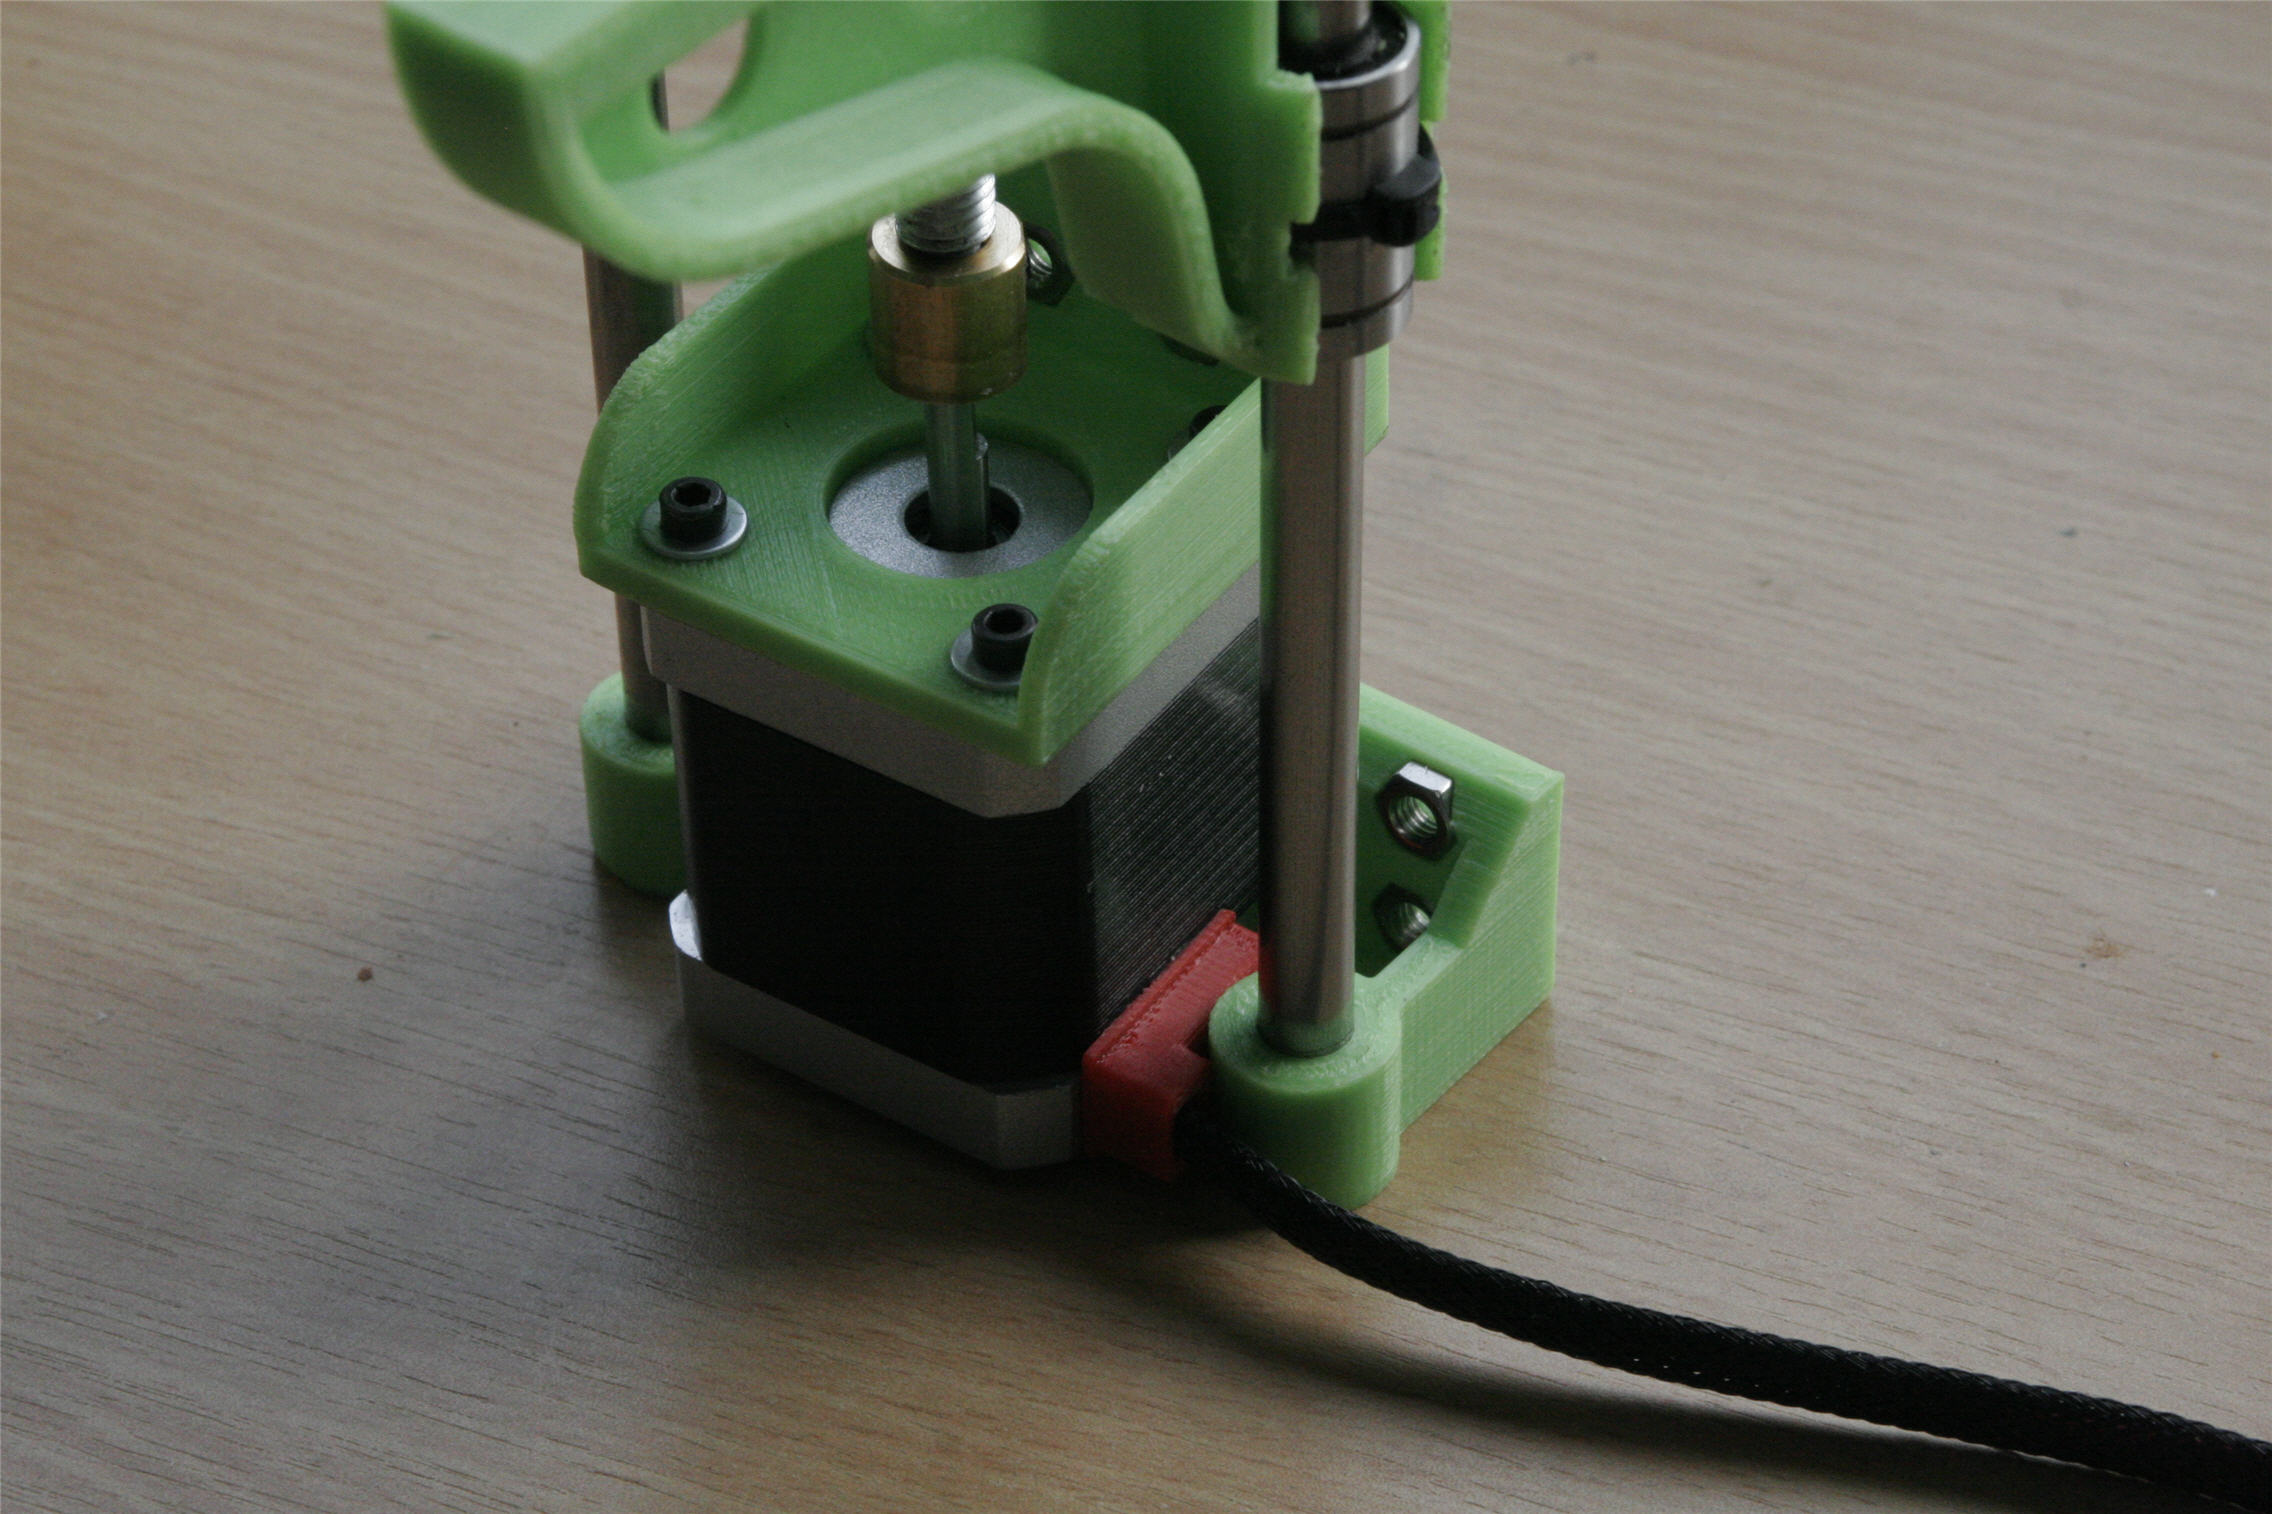
The motor for the Z-axis gets a different style of guide and this one only acts as a mechanical strain relief on the cable. Even without the electronics mounted in the bottom part it is hard to see where this one sits inside the cabinet.
Still, I did want some mechanical strain relief on the cables and this thing also hides the end of the braided sleeve. The braided sleeve always needs some fixation at the end, otherwise it will just unweave in time. i have seen little ty-raps for this but I prefer to use shrink tube and the 3D printed guide does also a nice job of hiding this.
Adding the printed parts
My initial thoughts were that I would only change some of the original 3D files. Only the things that needed changes for the metric components have to be changed.
Since I also had to change the corners to fit the 4mm plexiglass, this means I actually needed to change all parts ...
There are no parts that do not have any specific measurements for metric nuts and bolts. Maybe I could have done without redrawing the carriage for the hot-end but since I will be using a hot-end that differs from the original one used by Sublime I need to create a complete new part anyway.
Plexiglass housing
The design was finished, although ...
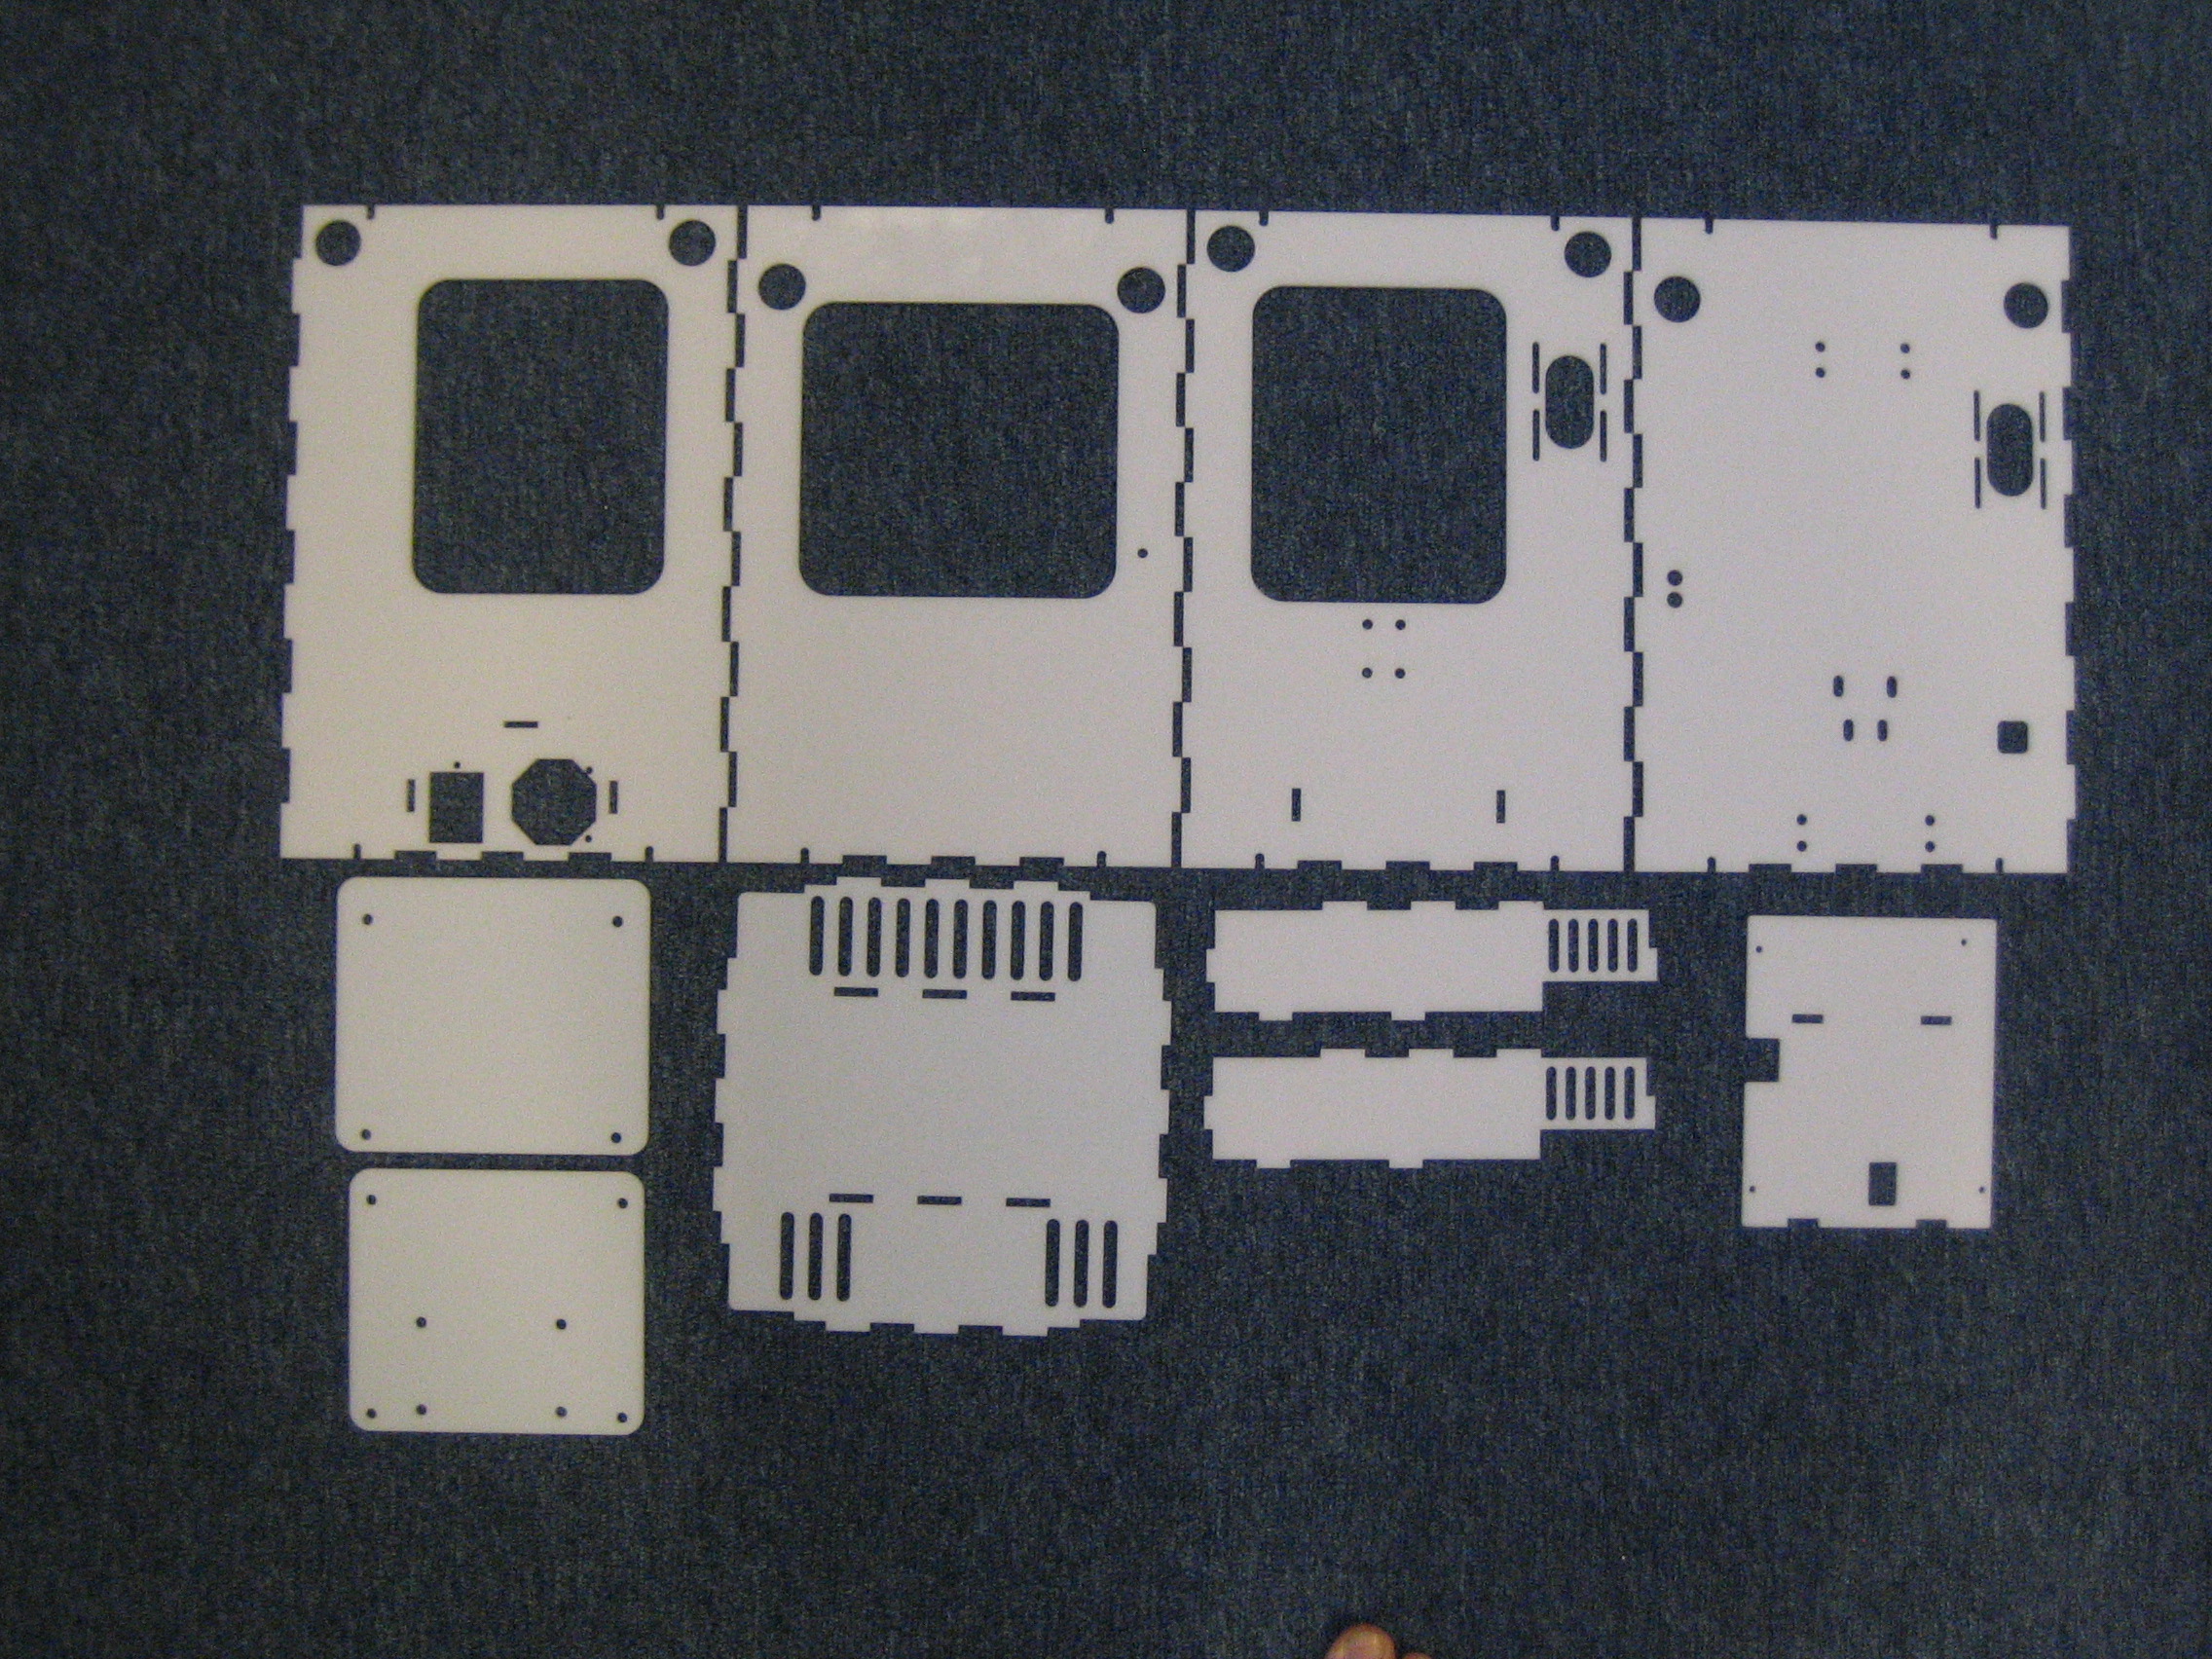
In the previous SolidWorks rendering, the circuit board with the Megatronics 3D printer controller was still floating in mid air. The idea was that would just glue some studs in place to mount the electronics but I quickly disliked this idea. So after another hour of tinkering with SolidWorks I had come up with a bottom plate, a few ribs and a plate to mount the circuit board on.
Finally ready for some real work: watching the laser cutter magically slicing my plexiglass.
I can not wait for the printed parts to be finished; just printing the four bottom corners takes over 4 hours on my Creatr (could be done faster but I want good looking parts to I'm printing not too fast).
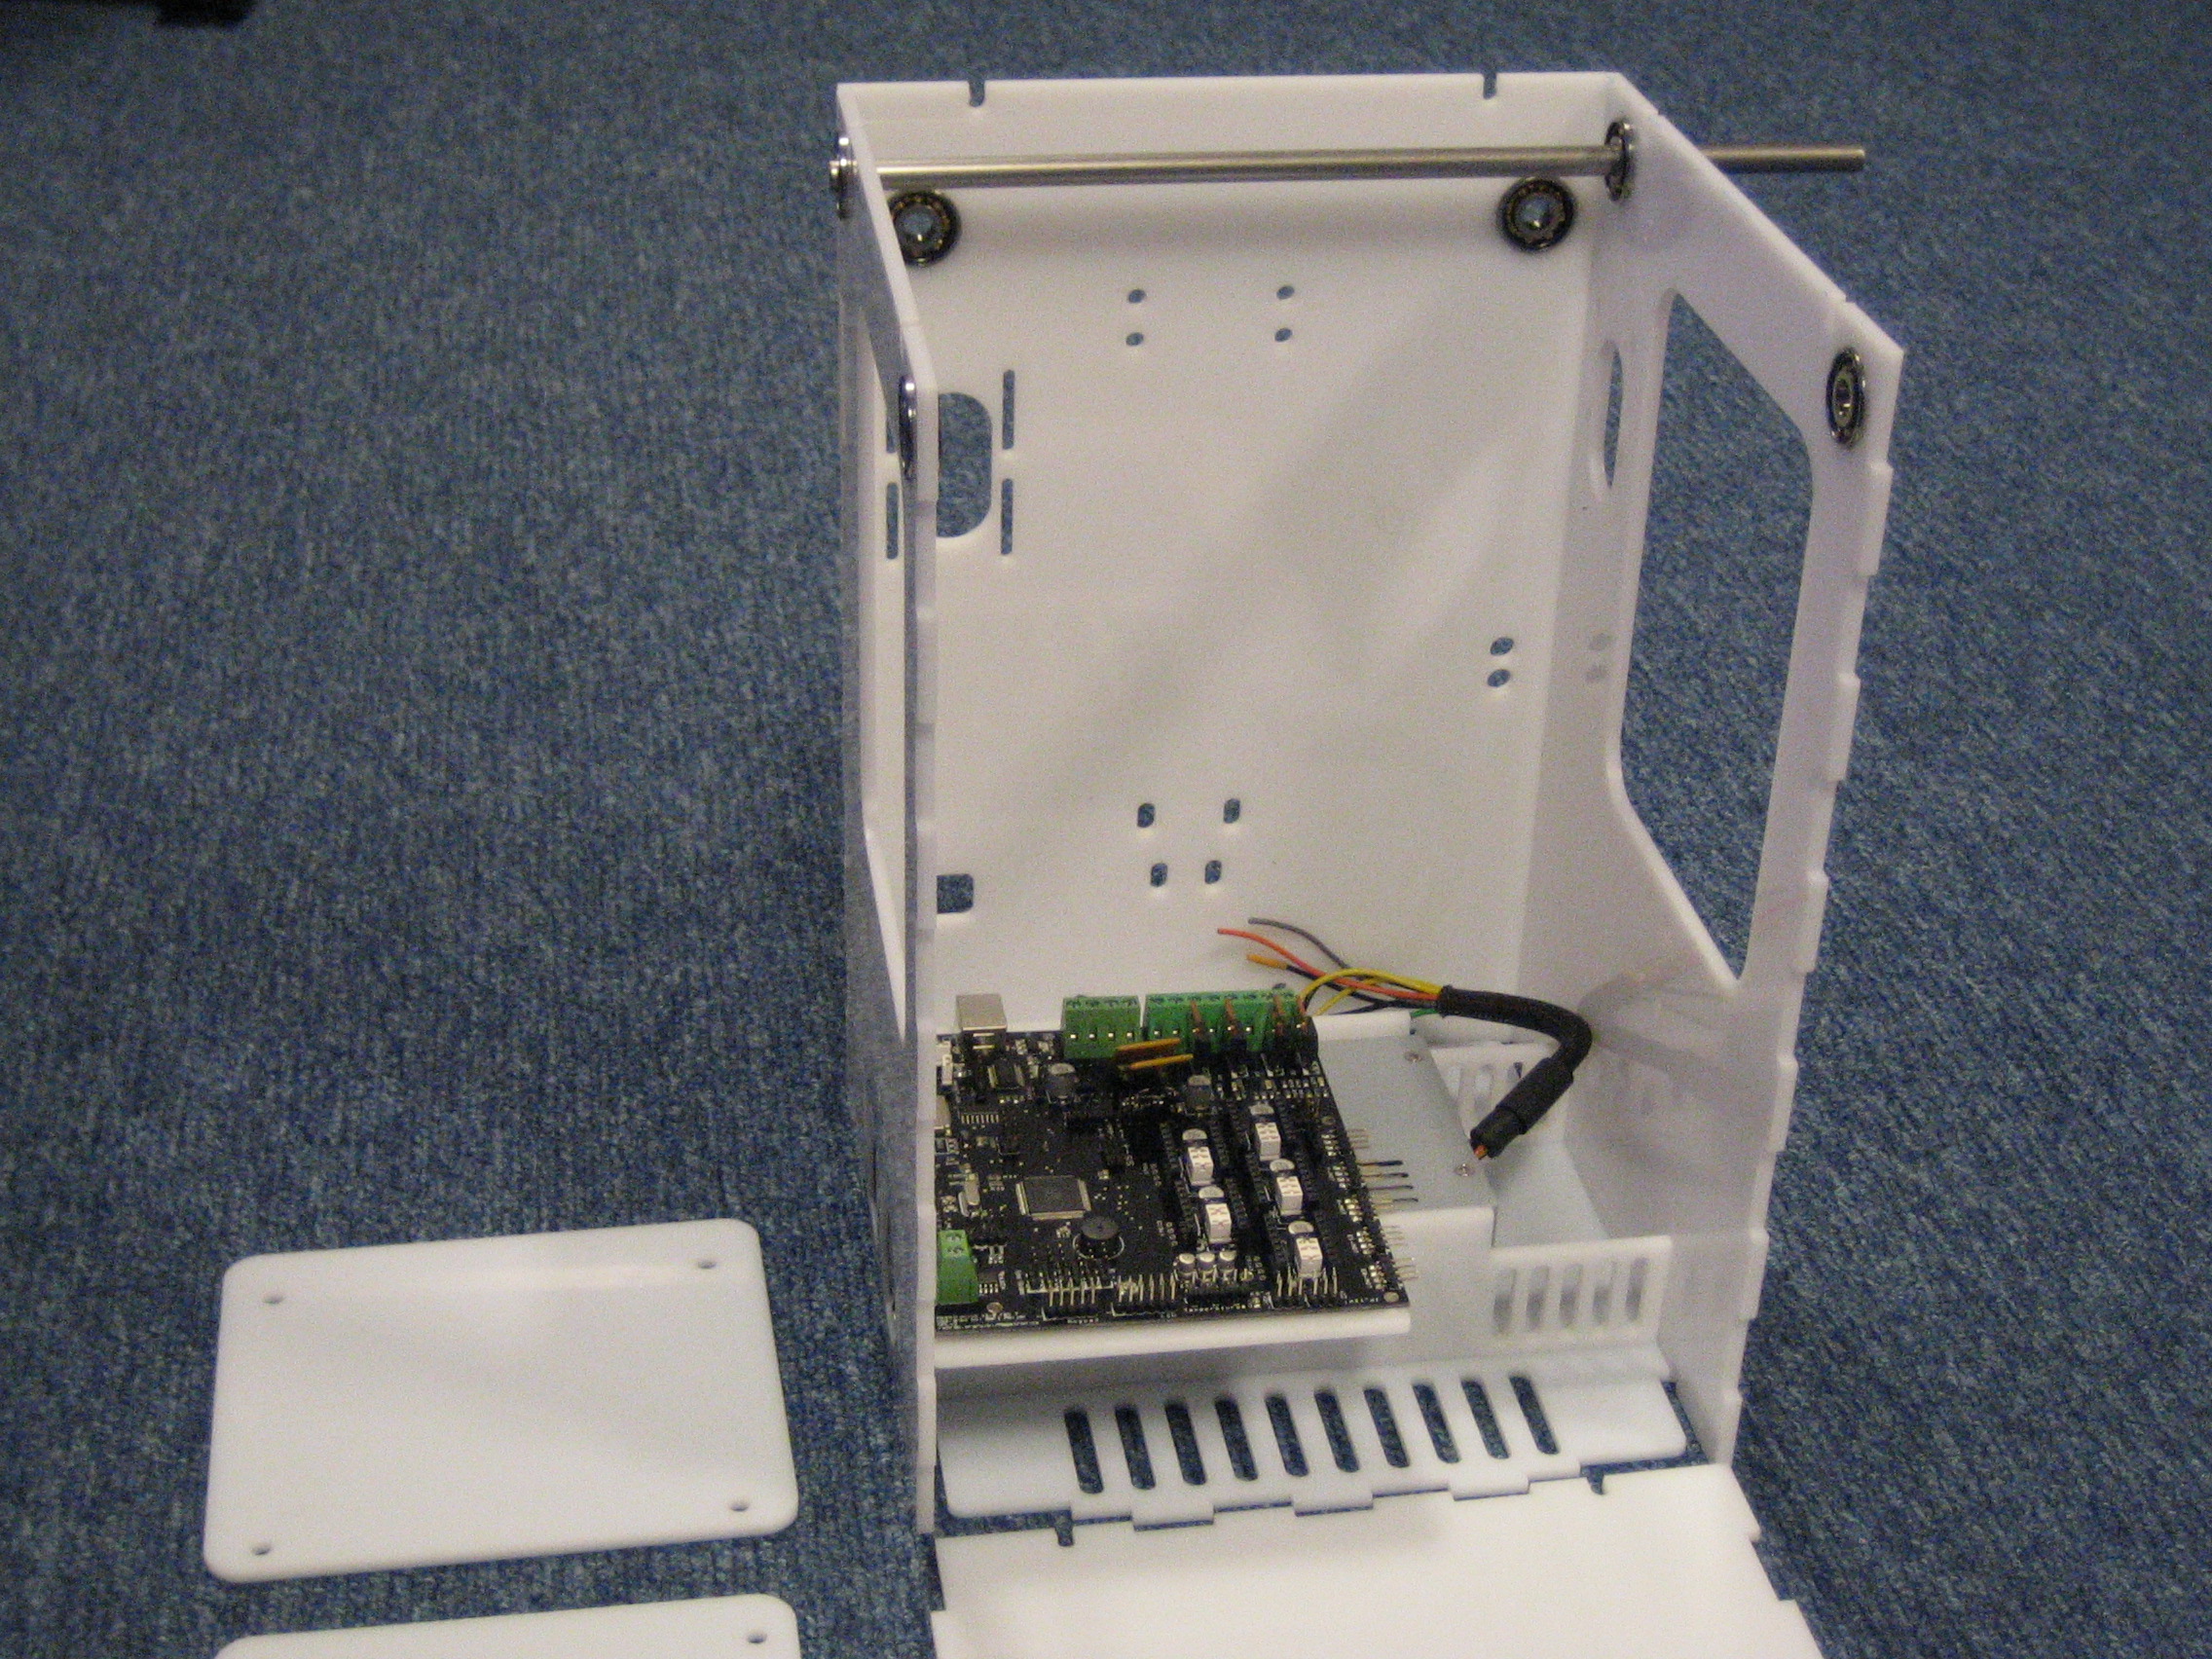
So just to get an idea of how this thing will look like; bearings inserted, the walls mounted with some painters tape and power supply and electronics in place. It all seems to fit very nicely.
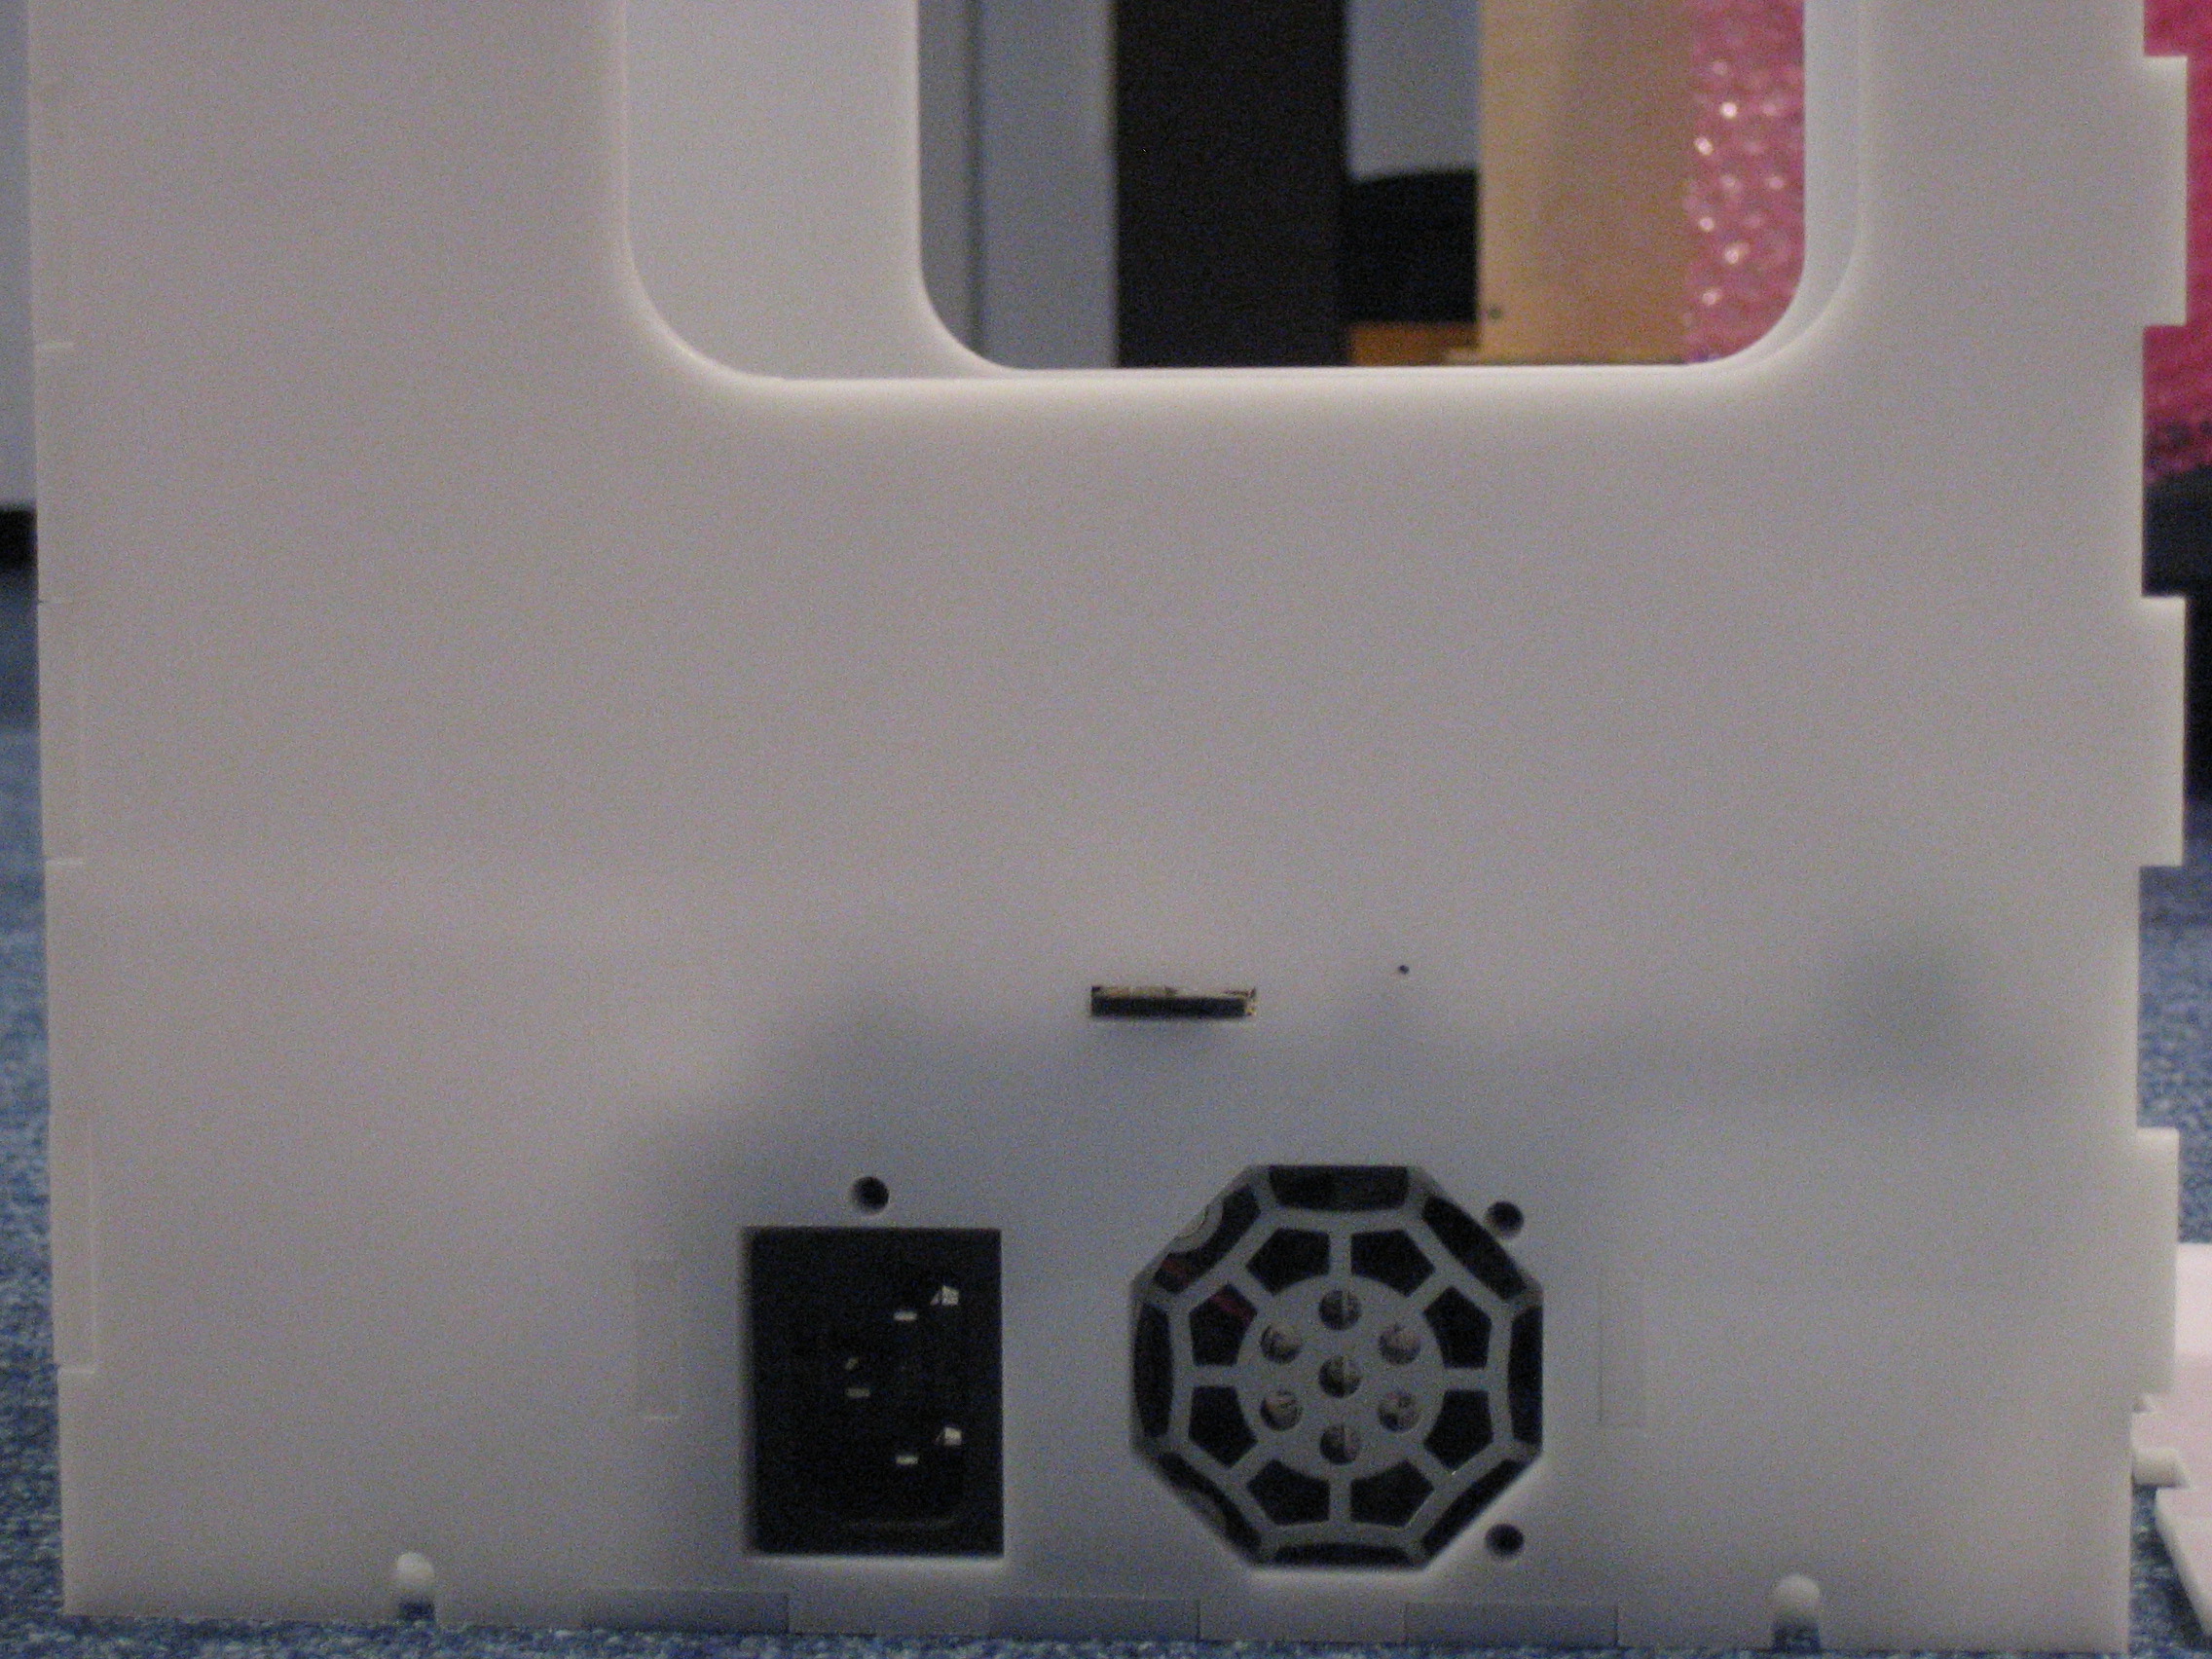
I already measured the power supply for a previous project and have a SolidWorks model for this, so the holes for the power supply should be at the right place. Still ... it is nice to see that it indeed fits perfectly.
The electronics board has a slot for a micro-SD card and a push button for resetting the card. I never need to use the reset button on my Creatr so I did not want to make a too big hole for this. The SD slot is about 0.5mm bigger than the connector itself.
Everything fits nicely: I could not measure how much the micro-SD sticks out on the side and if it would be possible to insert/extract the card without any tools but it all looks OK; when inserted the card is almost flush with the outside of the case and by pushing with a nail I can release the card again.
Just to the right of the SD slot there is a tiny hole for the reset switch; just big enough for a paper clip to push the switch.
The plexiglass sheet I had was 800 x 800mm and there is still some left. This is a good thing since somehow I have taken the wrong measurements for the holes for the circuit board (2 out of the 4 holes are in the wrong place) so I will need to redo that part before I can mount the board.
Tantillus: BikeAlive edition
Tantillus is a very nice design by [Sublime]. He was able to fit a complete* 3D printer inside a 200 x 200 x 300mm space. Although this may seem simple, it is not at all.
*) [Sublime] used an external power brick, I will use a small 200W PC power supply that sits inside the plexiglass case.
Full millimeters instead of broken inches
The original Tantillus design is made based on inch measured bolts and rods but mixes in a lot of metrics components like bearings. Stuff like 6/32" nuts and bolts are hard to get in the Netherlands (in Europe) so it made sense to use M5 components instead.
Using available materials
I still have a few large sheets of 4mm plexiglass, Tantillus was designed with 6mm sheets in mind.
Yet another reason to redraw some components.
CoreXY Dynamics based XY movements
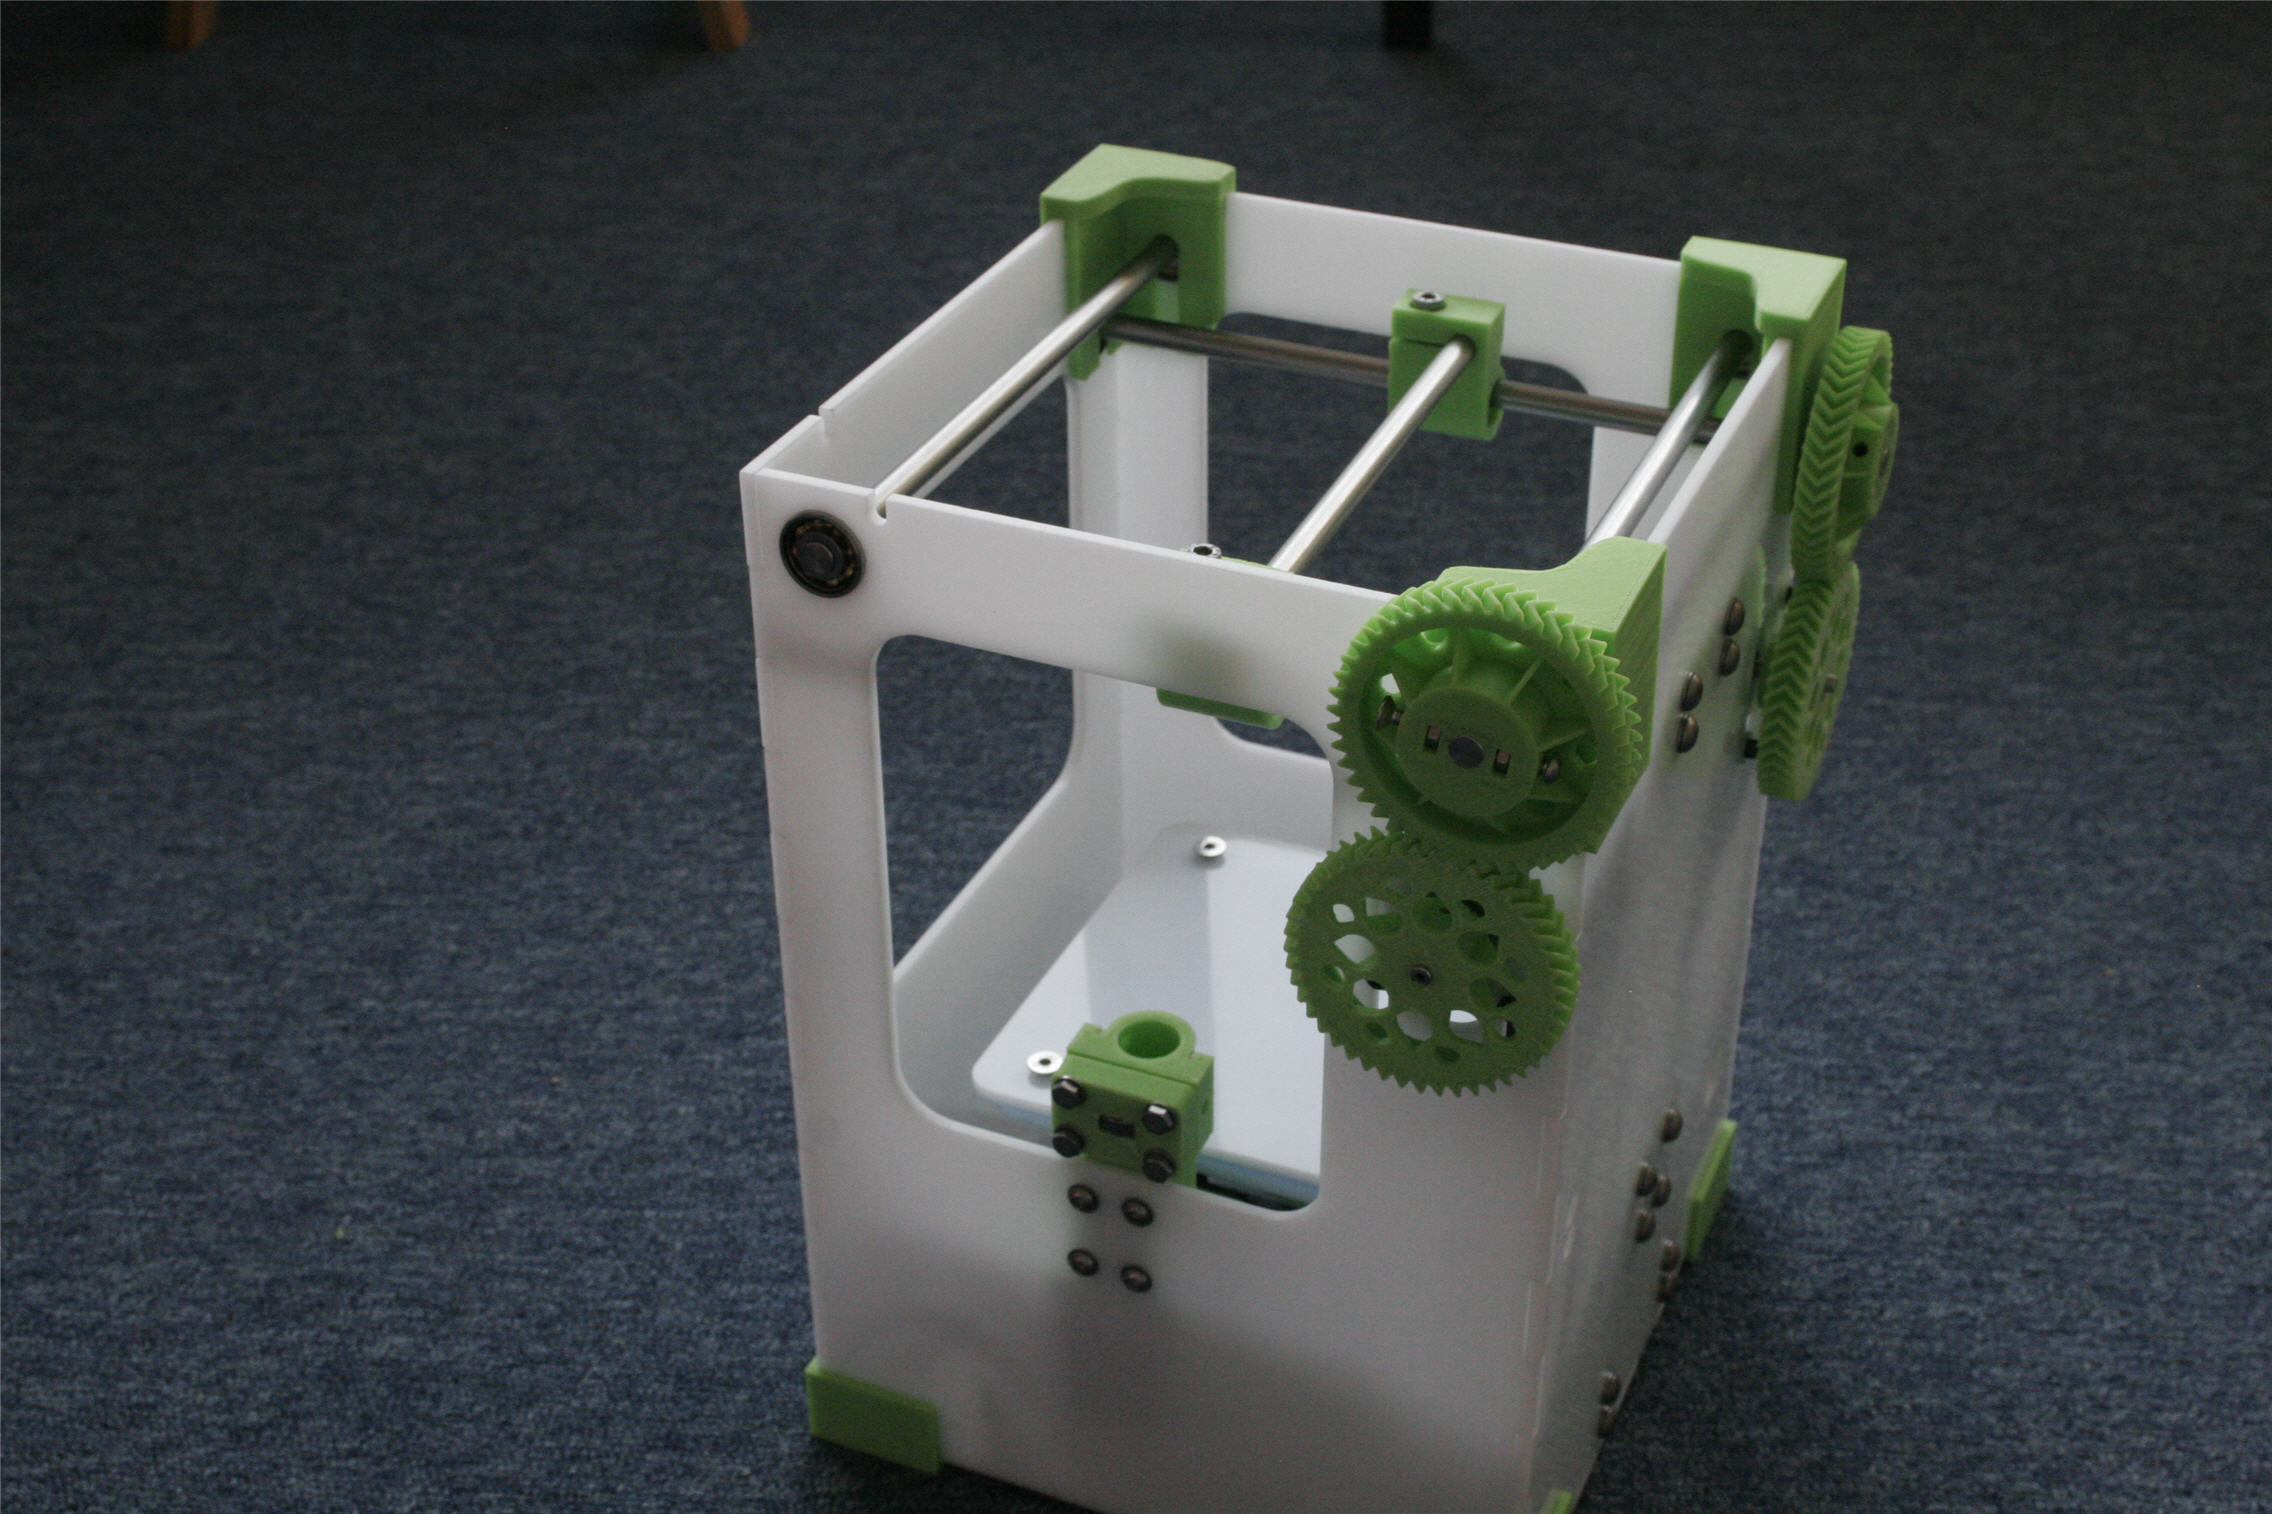
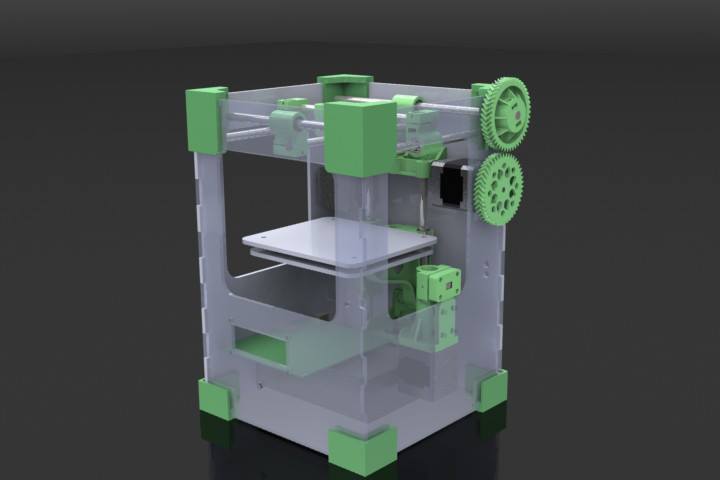
Tantillus looks to be a nice platform for testing different components. With its laser cut case and printed structural parts it is easy enough to modify. Since I saw it being implemented the first time I loved the CoreXY Dynamics system and I like to use this in a new printer. With a few modification this should fit.
All good reasons to start building an almost standard Tantillus to start with. Just use metric nuts and bolts and adapt the extruder for 1.75mm filament. So after having a few good looks at Tantillus' parts, I decided to draw the whole printer in SolidWorks as a start for my experiments. A rendering of the resulting model is shown in the picture above. Done and ready for laser cutting and 3D printing.
Self Replicating ?
A lot of the reprap based designs are based on the idea that the printer should be self replicating. Some drilling and cutting should still be done but all parts can be reproduced with regular tools found in most (technically minded) households with 3D printing as added technique.
I can use a friend's laser cutter and have access to a fully equipped work shop including a CNC mill. So the design does not have to be Self Replicating but I still like to be able to do most the work myself.
Nuts and bolts are, or course, of the shelf parts. As are ball bearings, linear bearings and even some 'special' 3D printing components like the hobbed wheel used for the extruder mechanism.
Most parts will still be 3D printed since this is a simple and effective means of producing them: select the filament color and hit the print button is simpler than deciding how to CNC mill a part with machining needed from 3 different sides.
Can I have one too?
Sure, wy not? Tantillus is open source so my BikeAlive edition will be open source too.
All SolidWorks models, DXF drawings and STL files will be made available to allow you to build your own. With the SolidWorks design you can even adapt it to your needs.
Apart from the laser cut plexiglass parts, most other parts can be 3D printed. For some components I have chosen to use metal parts. The Z-axis coupler is a rigid 5 to M8 coupler made from a piece of brass I have and the drive shaft for the extruder is a custom piece that can easily be replaced with a 5mm rod and a motor coupler.
The motor couplers could be 3D printer but I prefer metal parts. This will give a higher quality system that lasts longer.
Future versions of the printer will have more custom parts. For the next version (I already planned an upgrade to the CoryXY system), motor pulleys and brackets will be all metal parts. I will still make sure that the original v1 edition designs stay available for download.
Do you plan to sell kits
Creating a kit with all the components is a lot of work and to keep things economically viable the kit would have a proper price tag. If I remember well, the original Tantillus kit was 800 USD. This seems a lot but if you could all parts from the smallest washer up to stepper motors and electronics you will notice this is a fair price to ask (remember: Sublime has to invest in all this before he can sell even one kit).
I will not sell complete kits but when there is a demand for it, I might be persuaded to sell the laser cut parts and the couplers I'm creating myself.