Small milling machine

At work we had this small milling machine standing in the garage.
Since there are some safety issues when using such a machine, we now have all our prototyping work outsourced.
This small Colinbus CPR-30 Modelling mill is great for most of the work I do. Do not confuse this machine with the Colinbus Profiler that was sold by Elektor. The latter does not use linear guide rails and has different electronics.
Still, the CPR-30 has a custom electronics board and needs special software which I do not like. Time to convert this machine to EdingCNC and place it in a proper cabinet.
Electronics

The electronics all sits on a steel frame under the table. On the photo you can also see the linear guide rails, mounted on the underside of the table, and the fine-pitch lead screw with a Delrin or Nylon nut.
Although I don't like the lead screw, I decided to leave this as is for now and concentrate on the electronics. This is a custom board with the stepper drivers embedded on board. After examination I do not see any proper way of re-using those and the nice transformer is also not usable.
If possible I do want to put all the electronics at the same steel plate again.
The idea is to keep this machine compact. Also, for performance it is always a good idea to have the wires from the stepper motors to the drivers as short as possible.
Up and running with EdingCNC
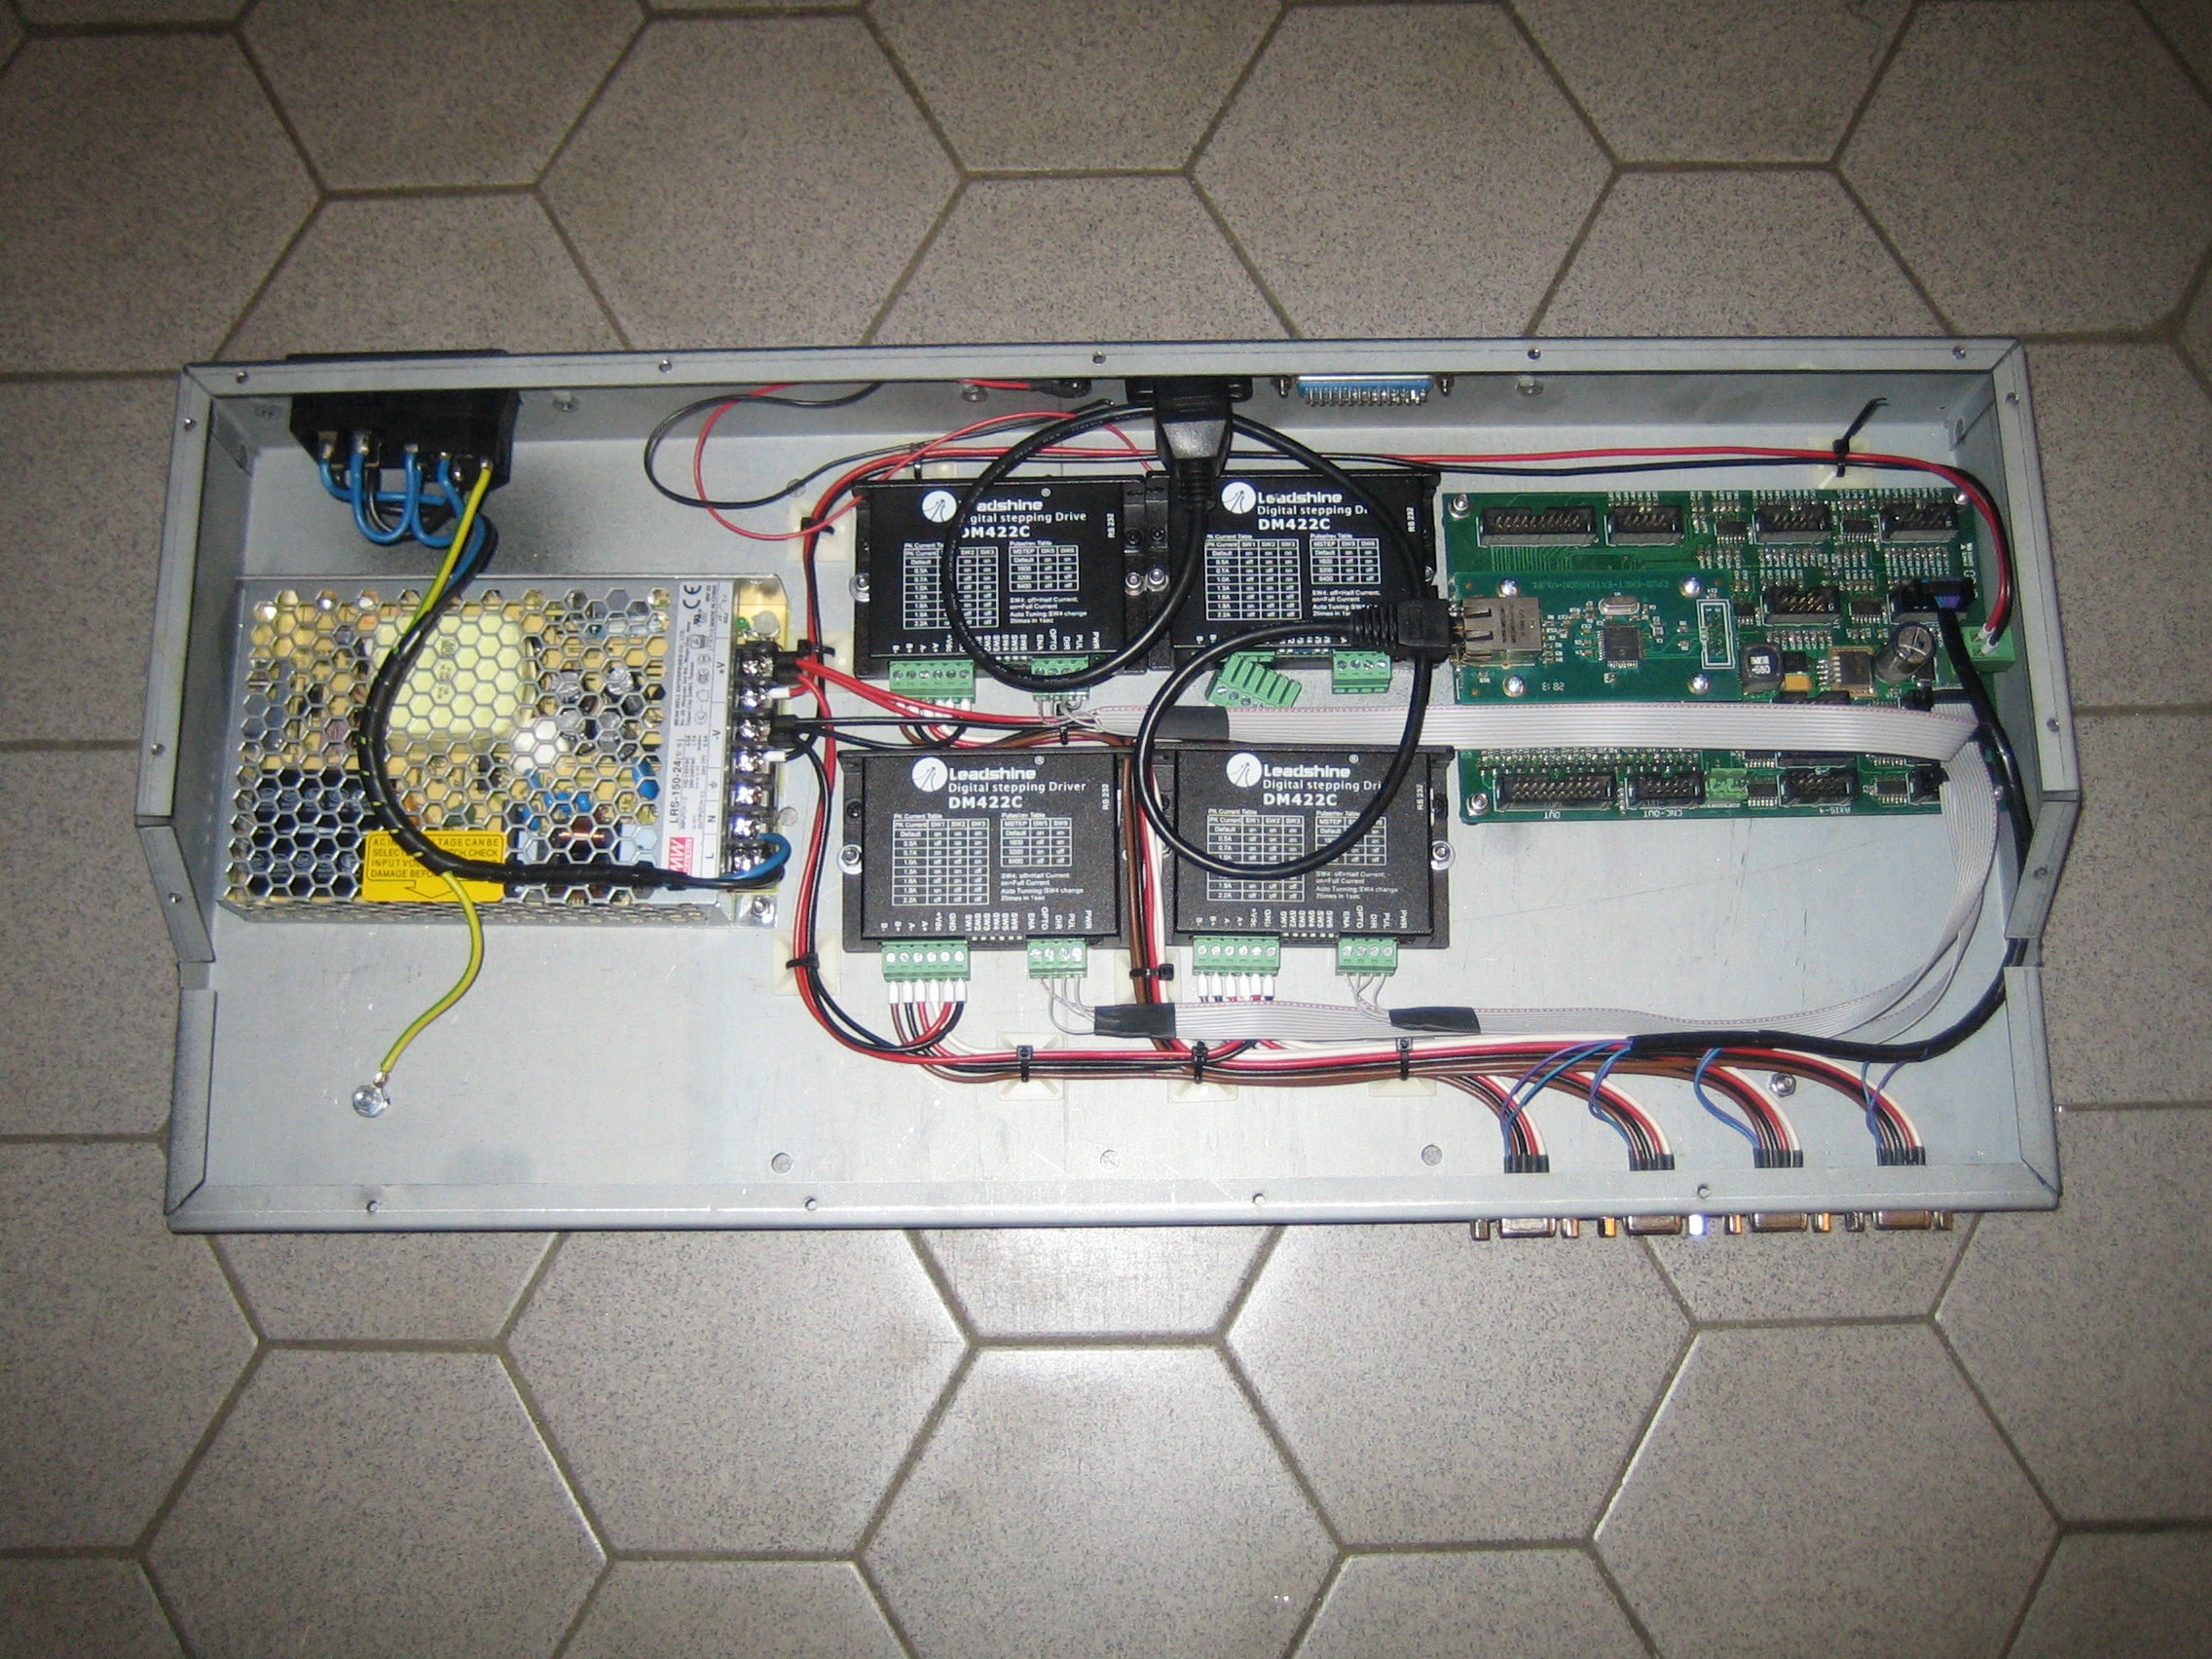
This is a simple as it gets: A 24V power supply, 4 stepper drivers and an EdingCNC board.
The Leadshine DM422C drivers are cheap and they do match perfectly with the small stepper motors used by Colinbus. Colinbus was kind enough to prepare the steel frame for a 4th DB9 plug so I decided to put a 4th stepper driver in there for an optional 4th axis. Since I do not use that right now, I have unplugged the power to this driver.
All steppers are connected via a DB9 connector. The homing switches are on that same connector.
I know ... having the signal from the homing switch in the same cable as the motor wires might not be the best idea, but for a small machine like this this will still work.
Water cooled spindle
The original spindle that came with the machine is a nice spindle, it runs smoother than the Kress spindle often used on small hobby machines and the runout is also good. But it has been abused a bit, one the 6mm collet was damaged and I only got a 3mm and a 6mm collet. Standard 1/8" PCB drills and mills don't fit.
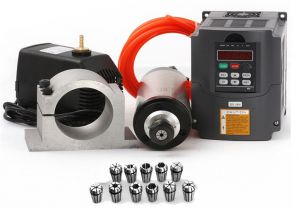
Time to order a new spindle. After a bit of searching, I ordered this 800W water cooled spindle. This is a complete set with collets, 1.5 kW VFD and a pump.
On the photo, the pump is shown with a ribbed hose-connector but on delivery I noticed that the pump actually has a press-fit connector.
Coolant tank
A water cooled spindle must never be used without coolant. The motor windings and bearing run hot even after just a short run so before anything else it is time to get a tank for my coolant.
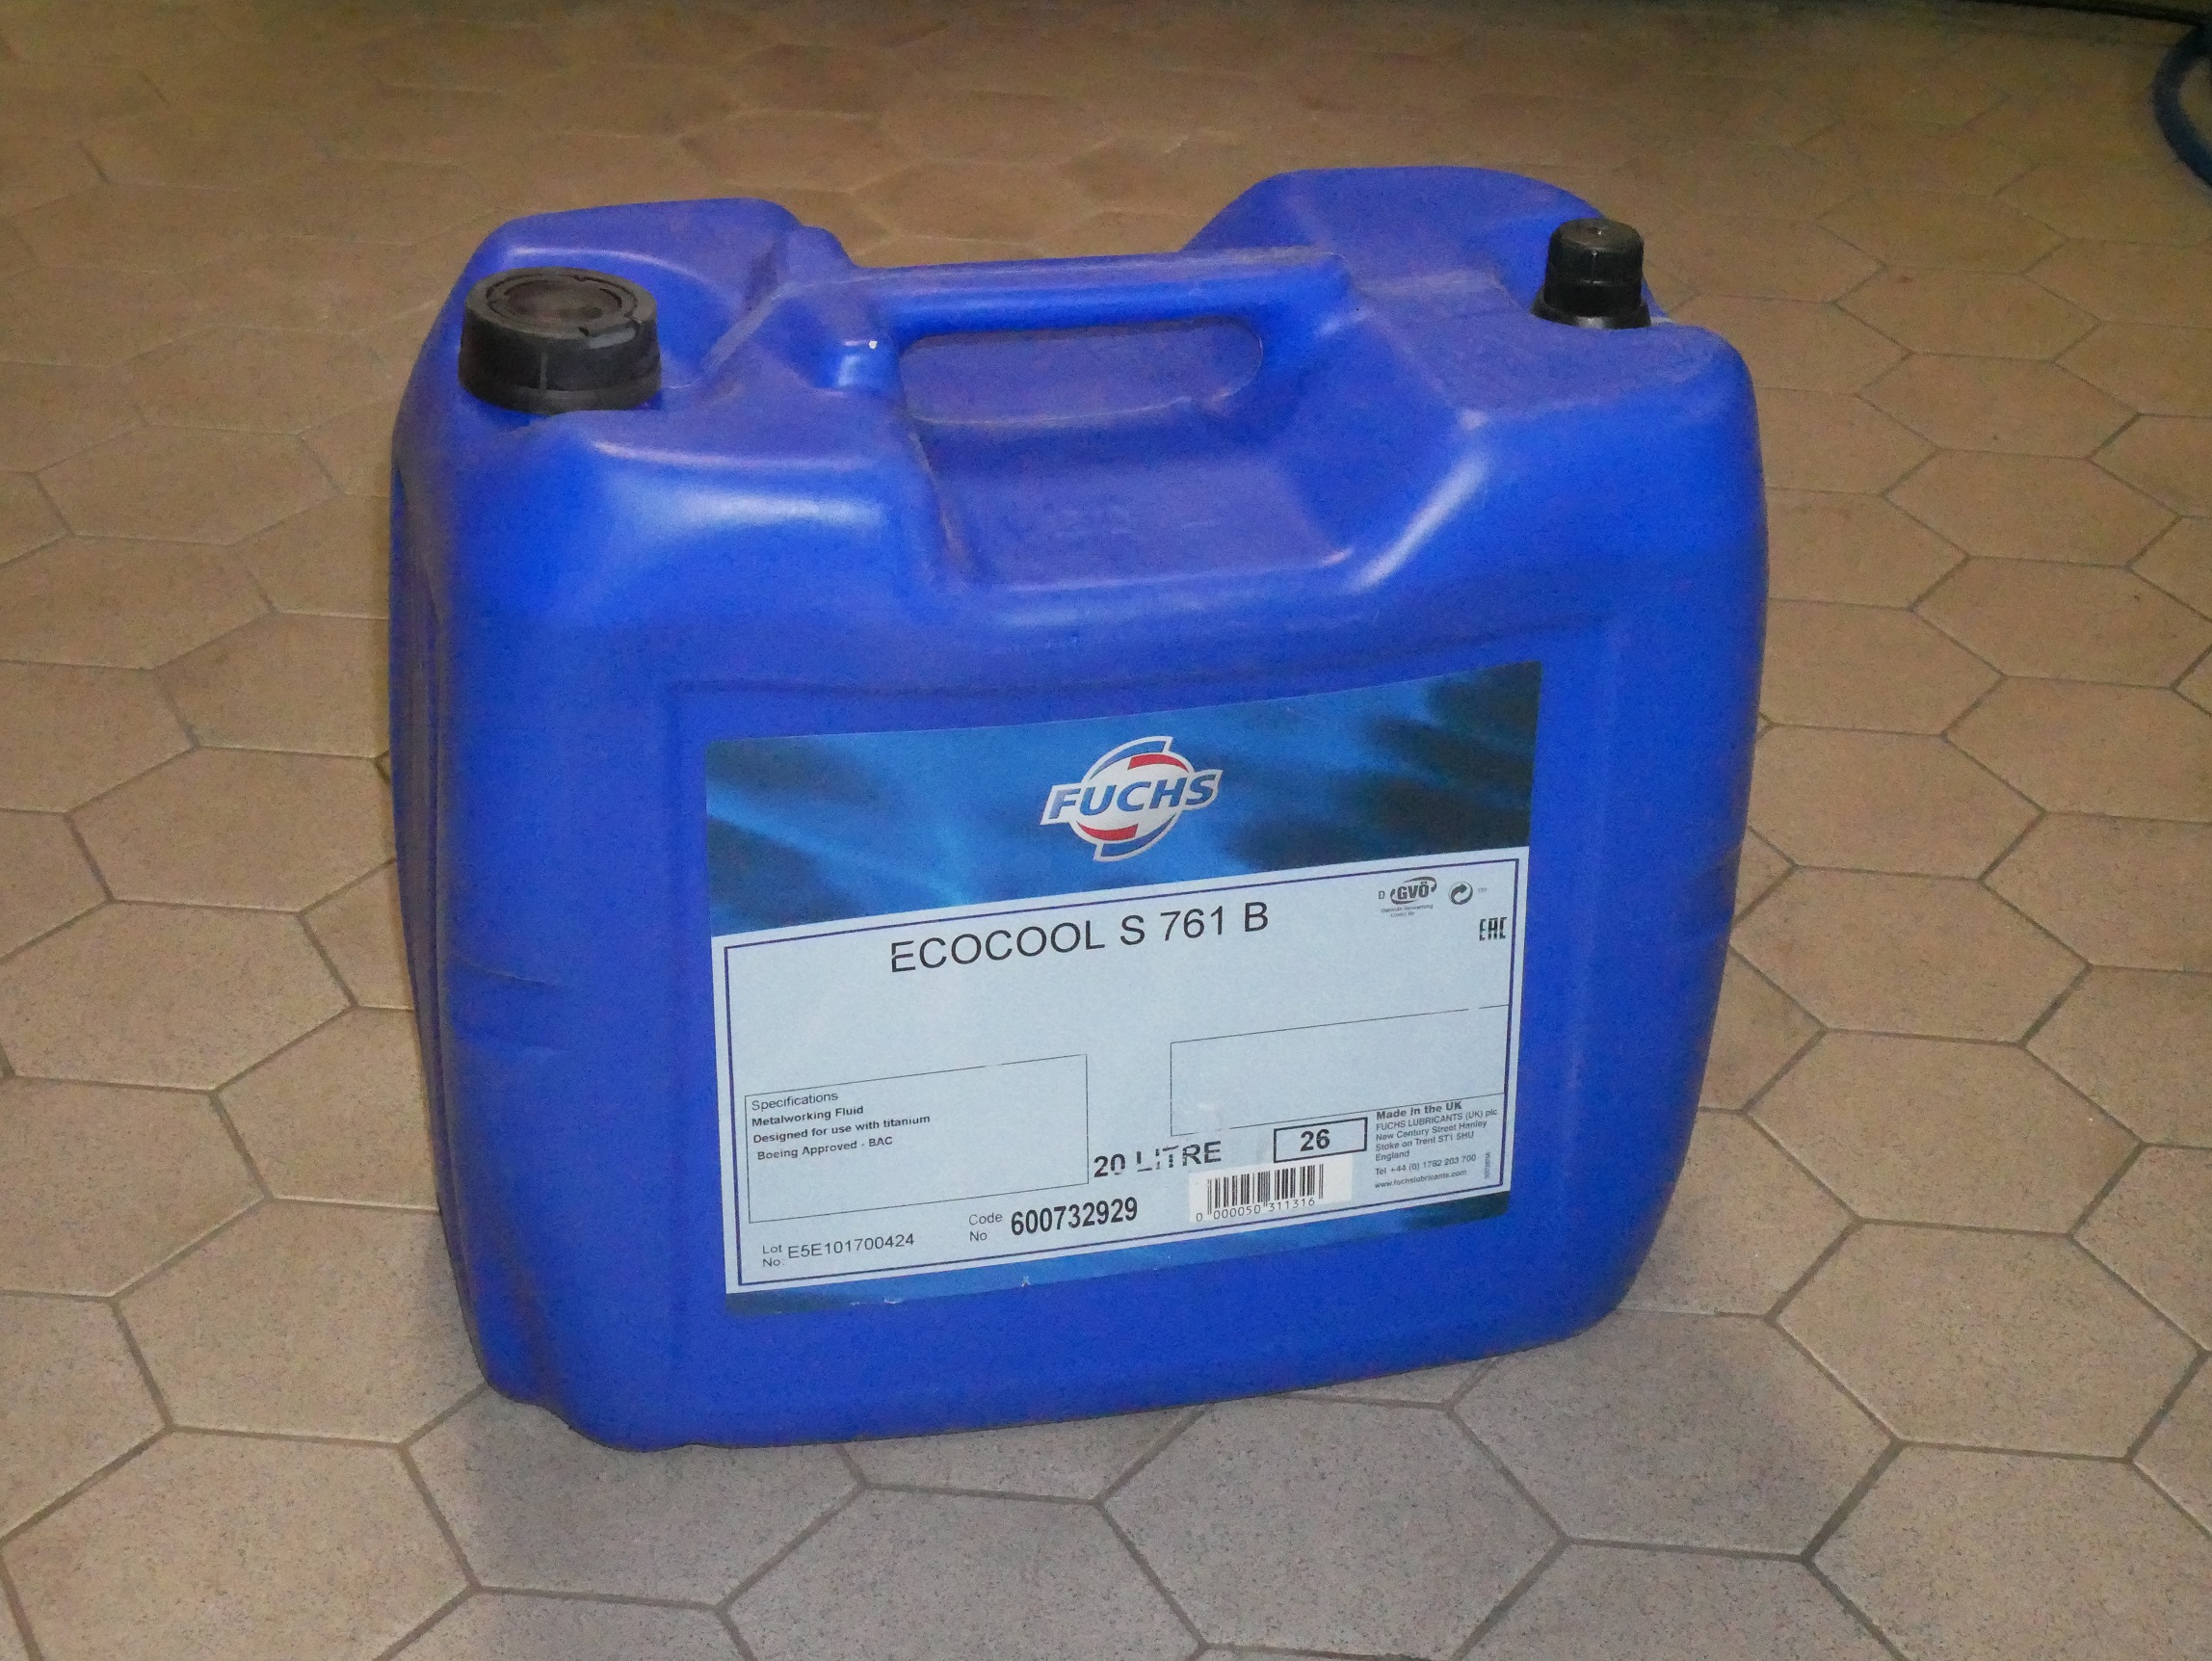
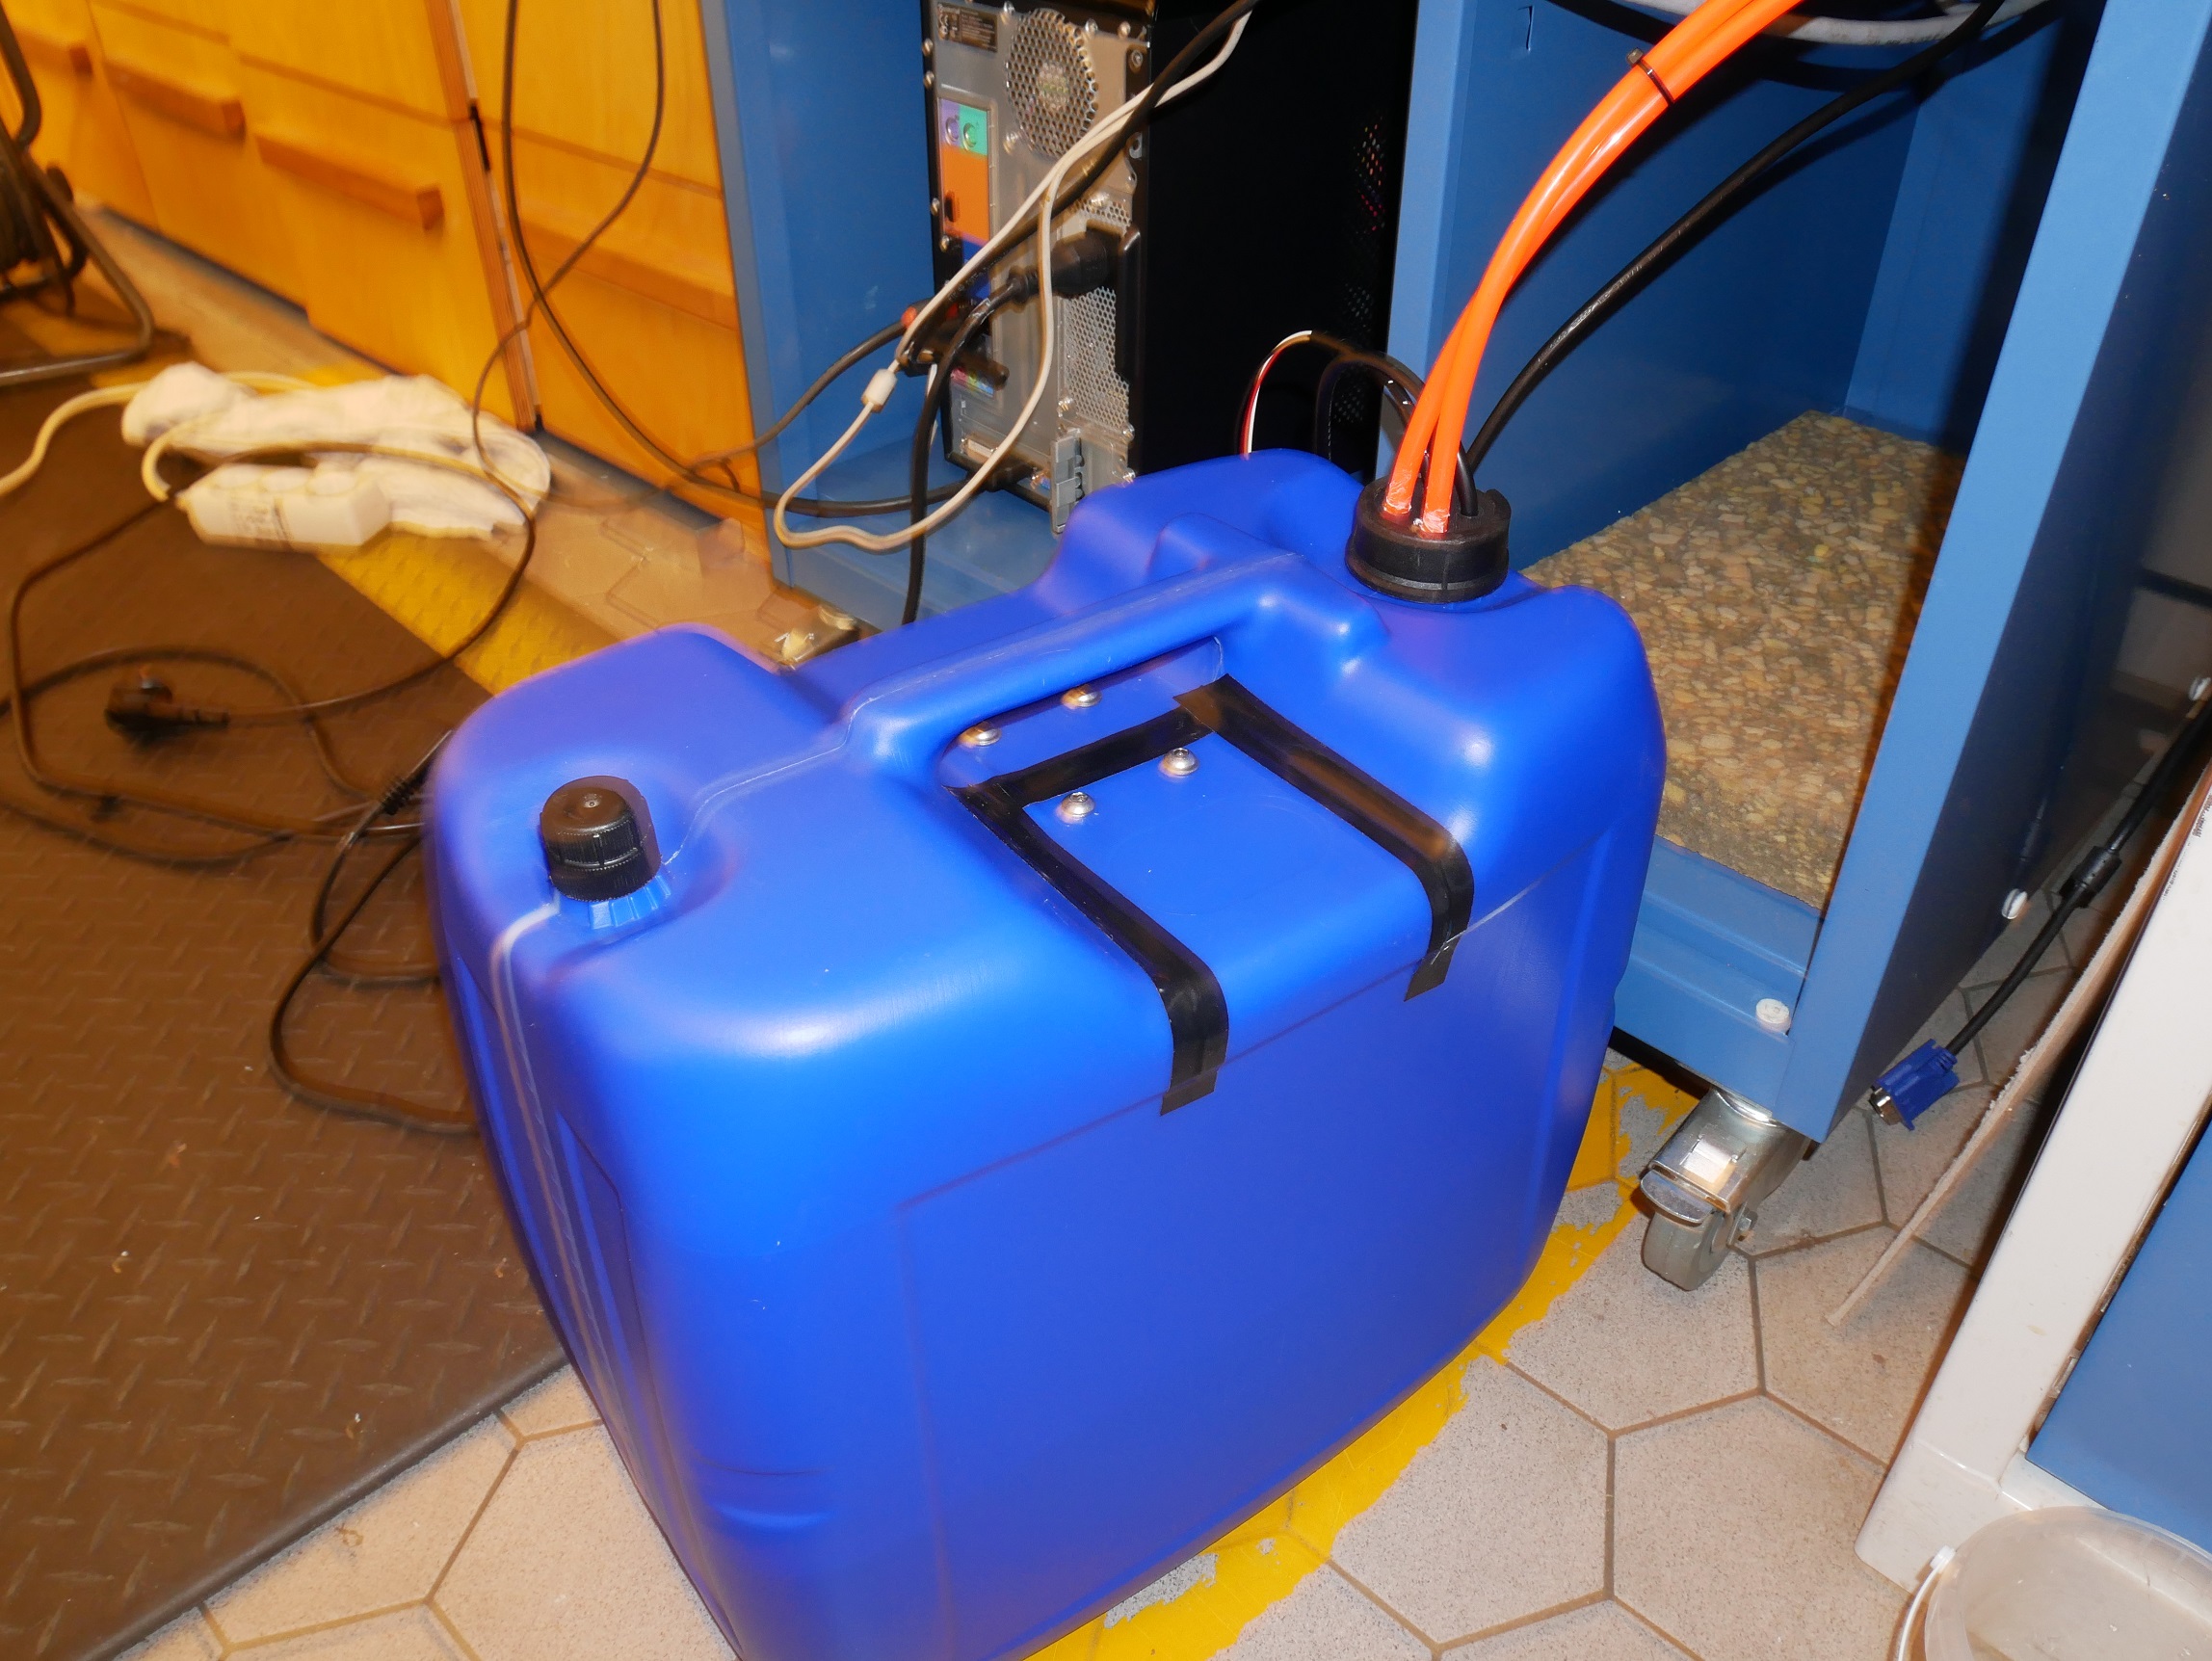
I used a bucket of water to test the spindle but with a cabinet standing ready to mount everything that is not the best idea. Preferrably I want a tank with a lid that prevents spilling liquid all over the place. Searching for something like this, my eye caught a jerry can of coolant. It is not the coolant I was looking for (this is oil emulsion for the Bridgeport) but the can itself.
After a quick fit I discovered it is the ideal size for the cabinet I have. I cleaned an empty can by rinsing it with water while refilling the Bridgeport and at the end a squirt of liquid soap (not putting that in the Bridgeport of course  .
.
Getting the pump in
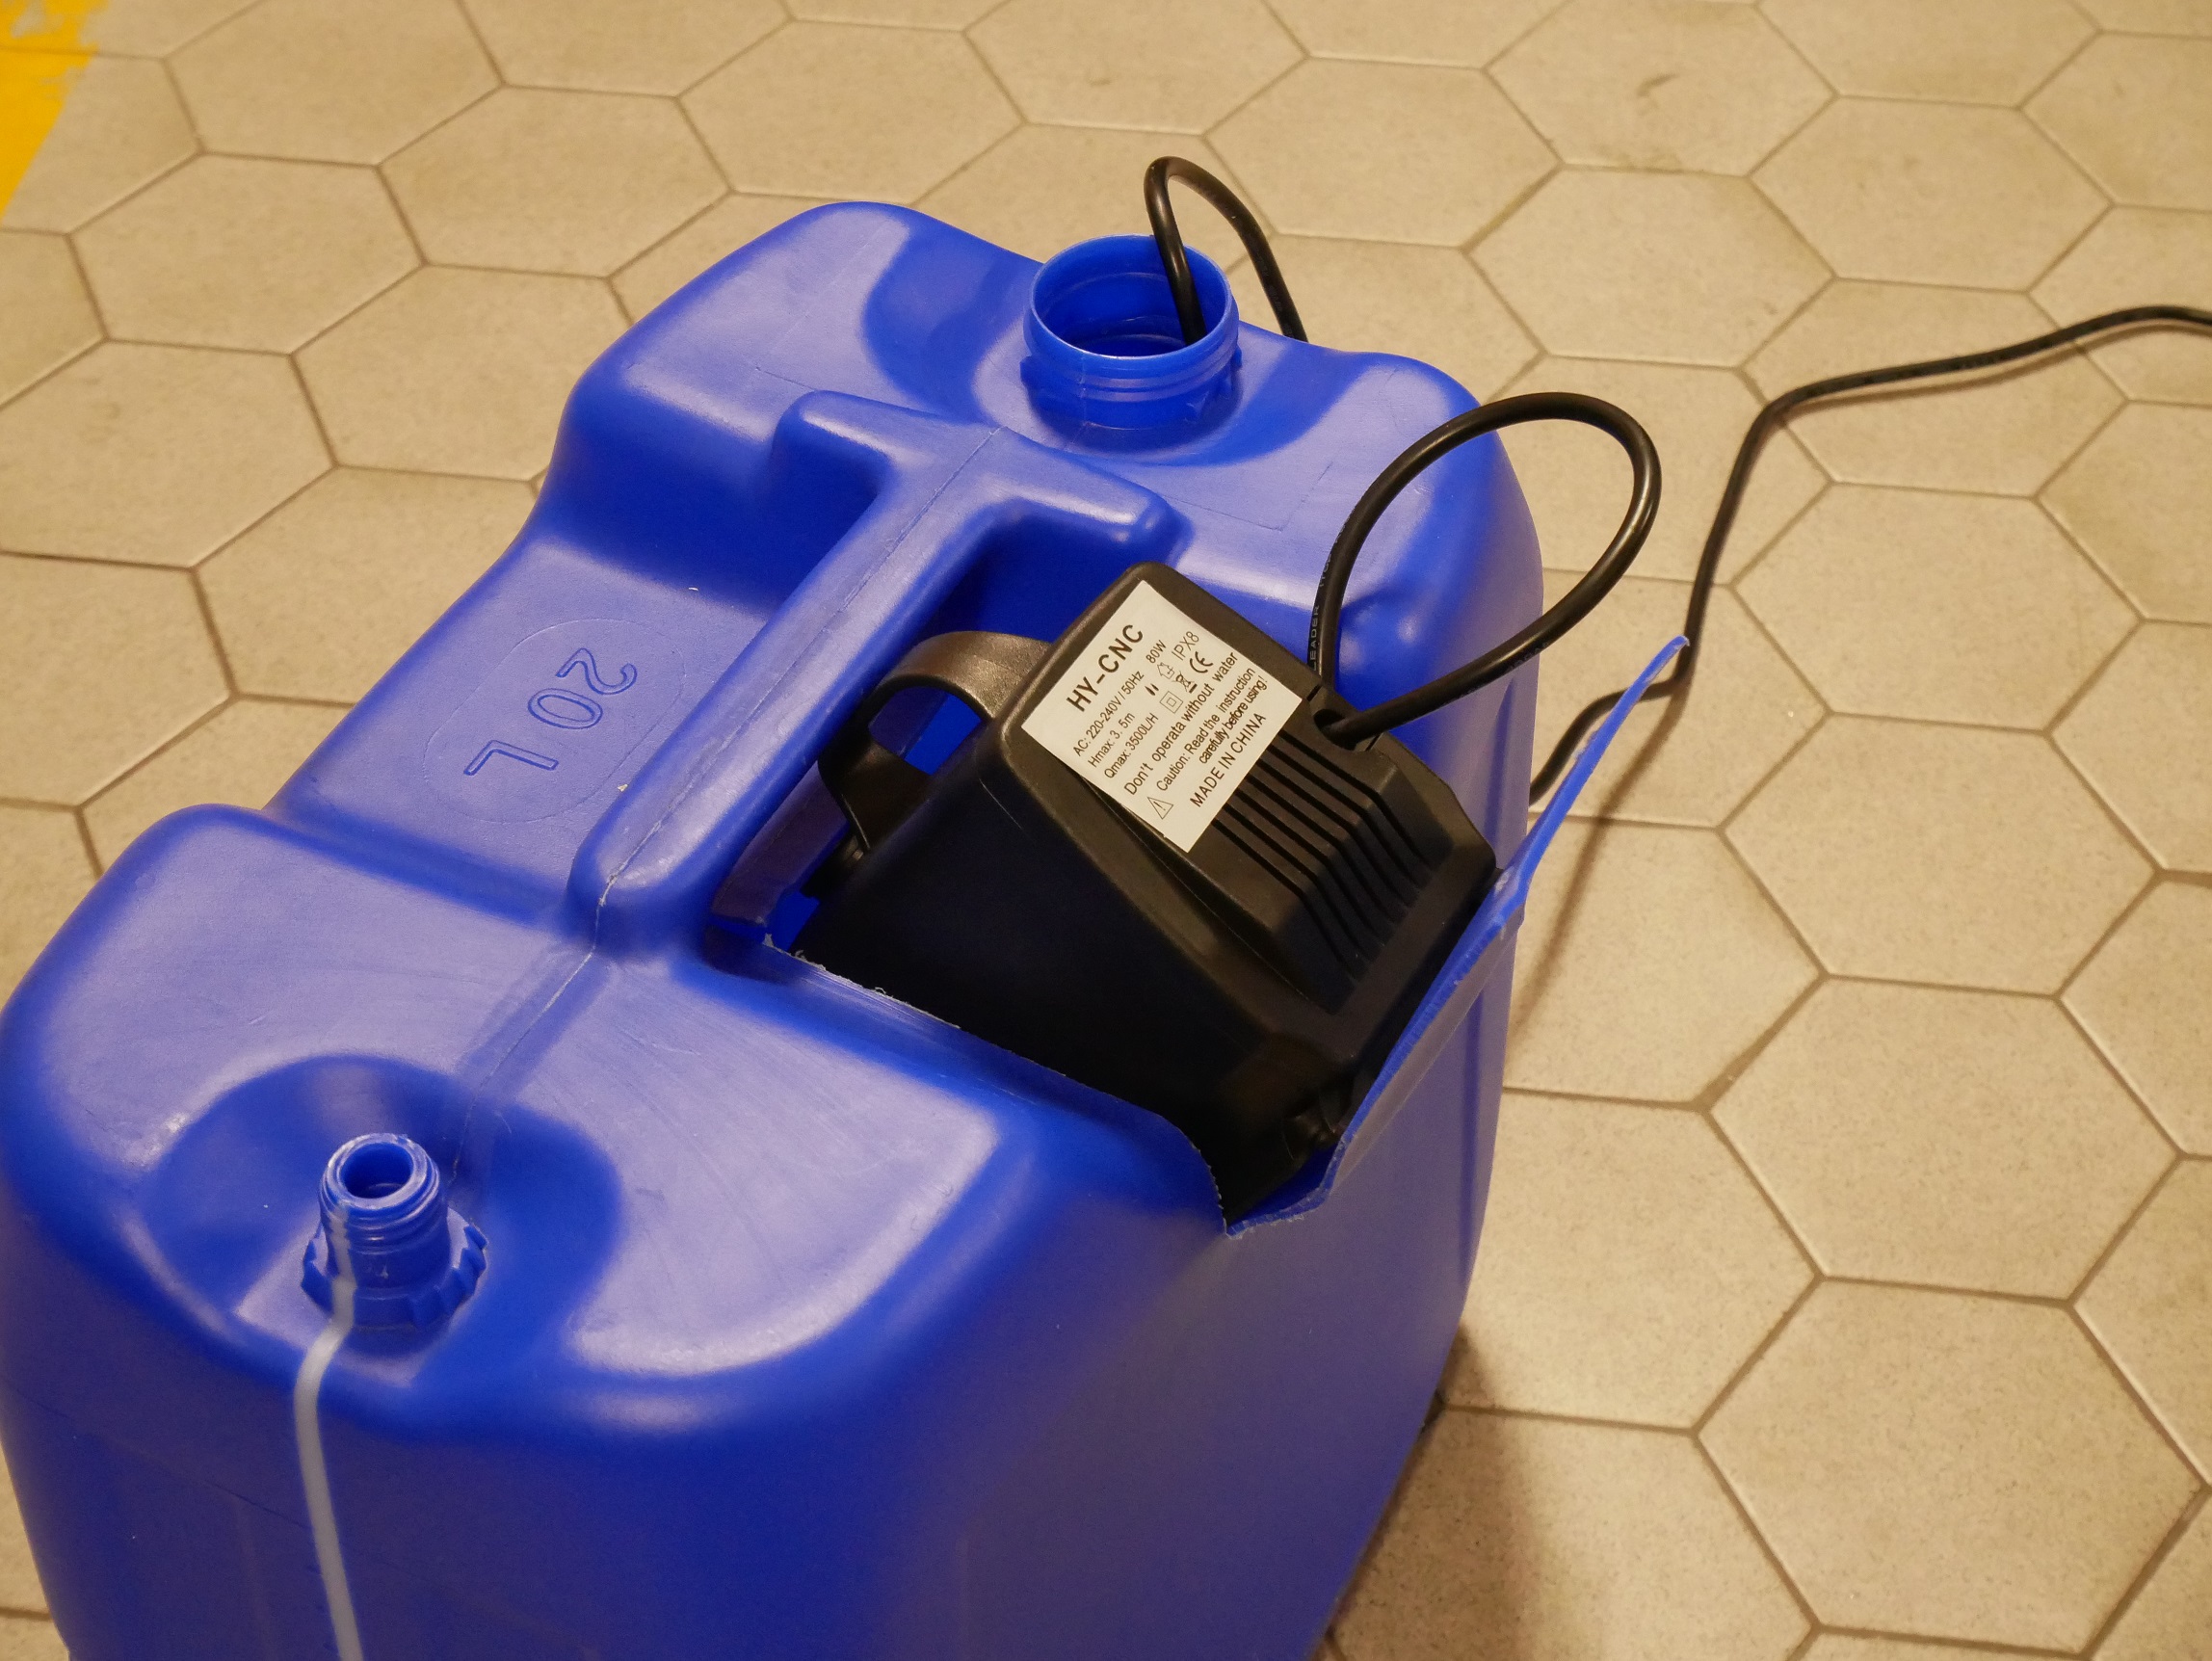
This is looking like on of my Mc Gyver style of solutions.
The empty can is cut open at the top with a hole just big enough to allow the pump to pass through.
It took a bit of thinking how to connect everything. I was thinking of adding a plate on top with all connections but after some time I came up with the perfect solution: Just use the available holes where the lids used to be.
3D printing some caps

In the post Mc Gyver era, we don't use duct tape as often as before. Nowadays we have 3D printers to make custom parts out of plastic and I used some silicone sealant to make stuff water tight.
The transparant thing is a flow sensor, this is going to be used to check if the coolant is still running. I printed an adapter to mount a G1/8 press fit connector on the G1/2 thread on the sensor. It is nice to have a DLP printer that allows printing these threads since I do not have taps for those, maybe more on this later. The flow sensor is mounted inside the tank, there are no couplings in the tubes running to the spindle to prevent any leakages.
A second piece, printed on my FDM printer in PLA, holds the tubes and wires in place. Silicone sealant is used to keep the 8mm tubes in place and the original cap will be used to keep everything in place.
Gentlemen, start your engines
With everything mounted it is time for a final test run.
The jerry can is filled with coolant liquid, the same type used for car engines. I use coolant liquid because of rust prevention. Regular water may (will!) result in rust forming, G12 coolant liquid uses ethylene glycol which helps in preventing ay rust forming.
The big flap that I cut out in the jerry can is hold in place with a bracket and a few screws and to prevent moist escaping I taped the edges.
Time to connect the pump for the final test run. The pump starts buzzing and I see liquid running through the tube up to the spindle. Quickly after this I decide to make a small change to my setup: The water makes a nice soothing sound when it falls back into the jerry can - no need for a flow sensor at all...
Mounting the spindle and mist coolant system
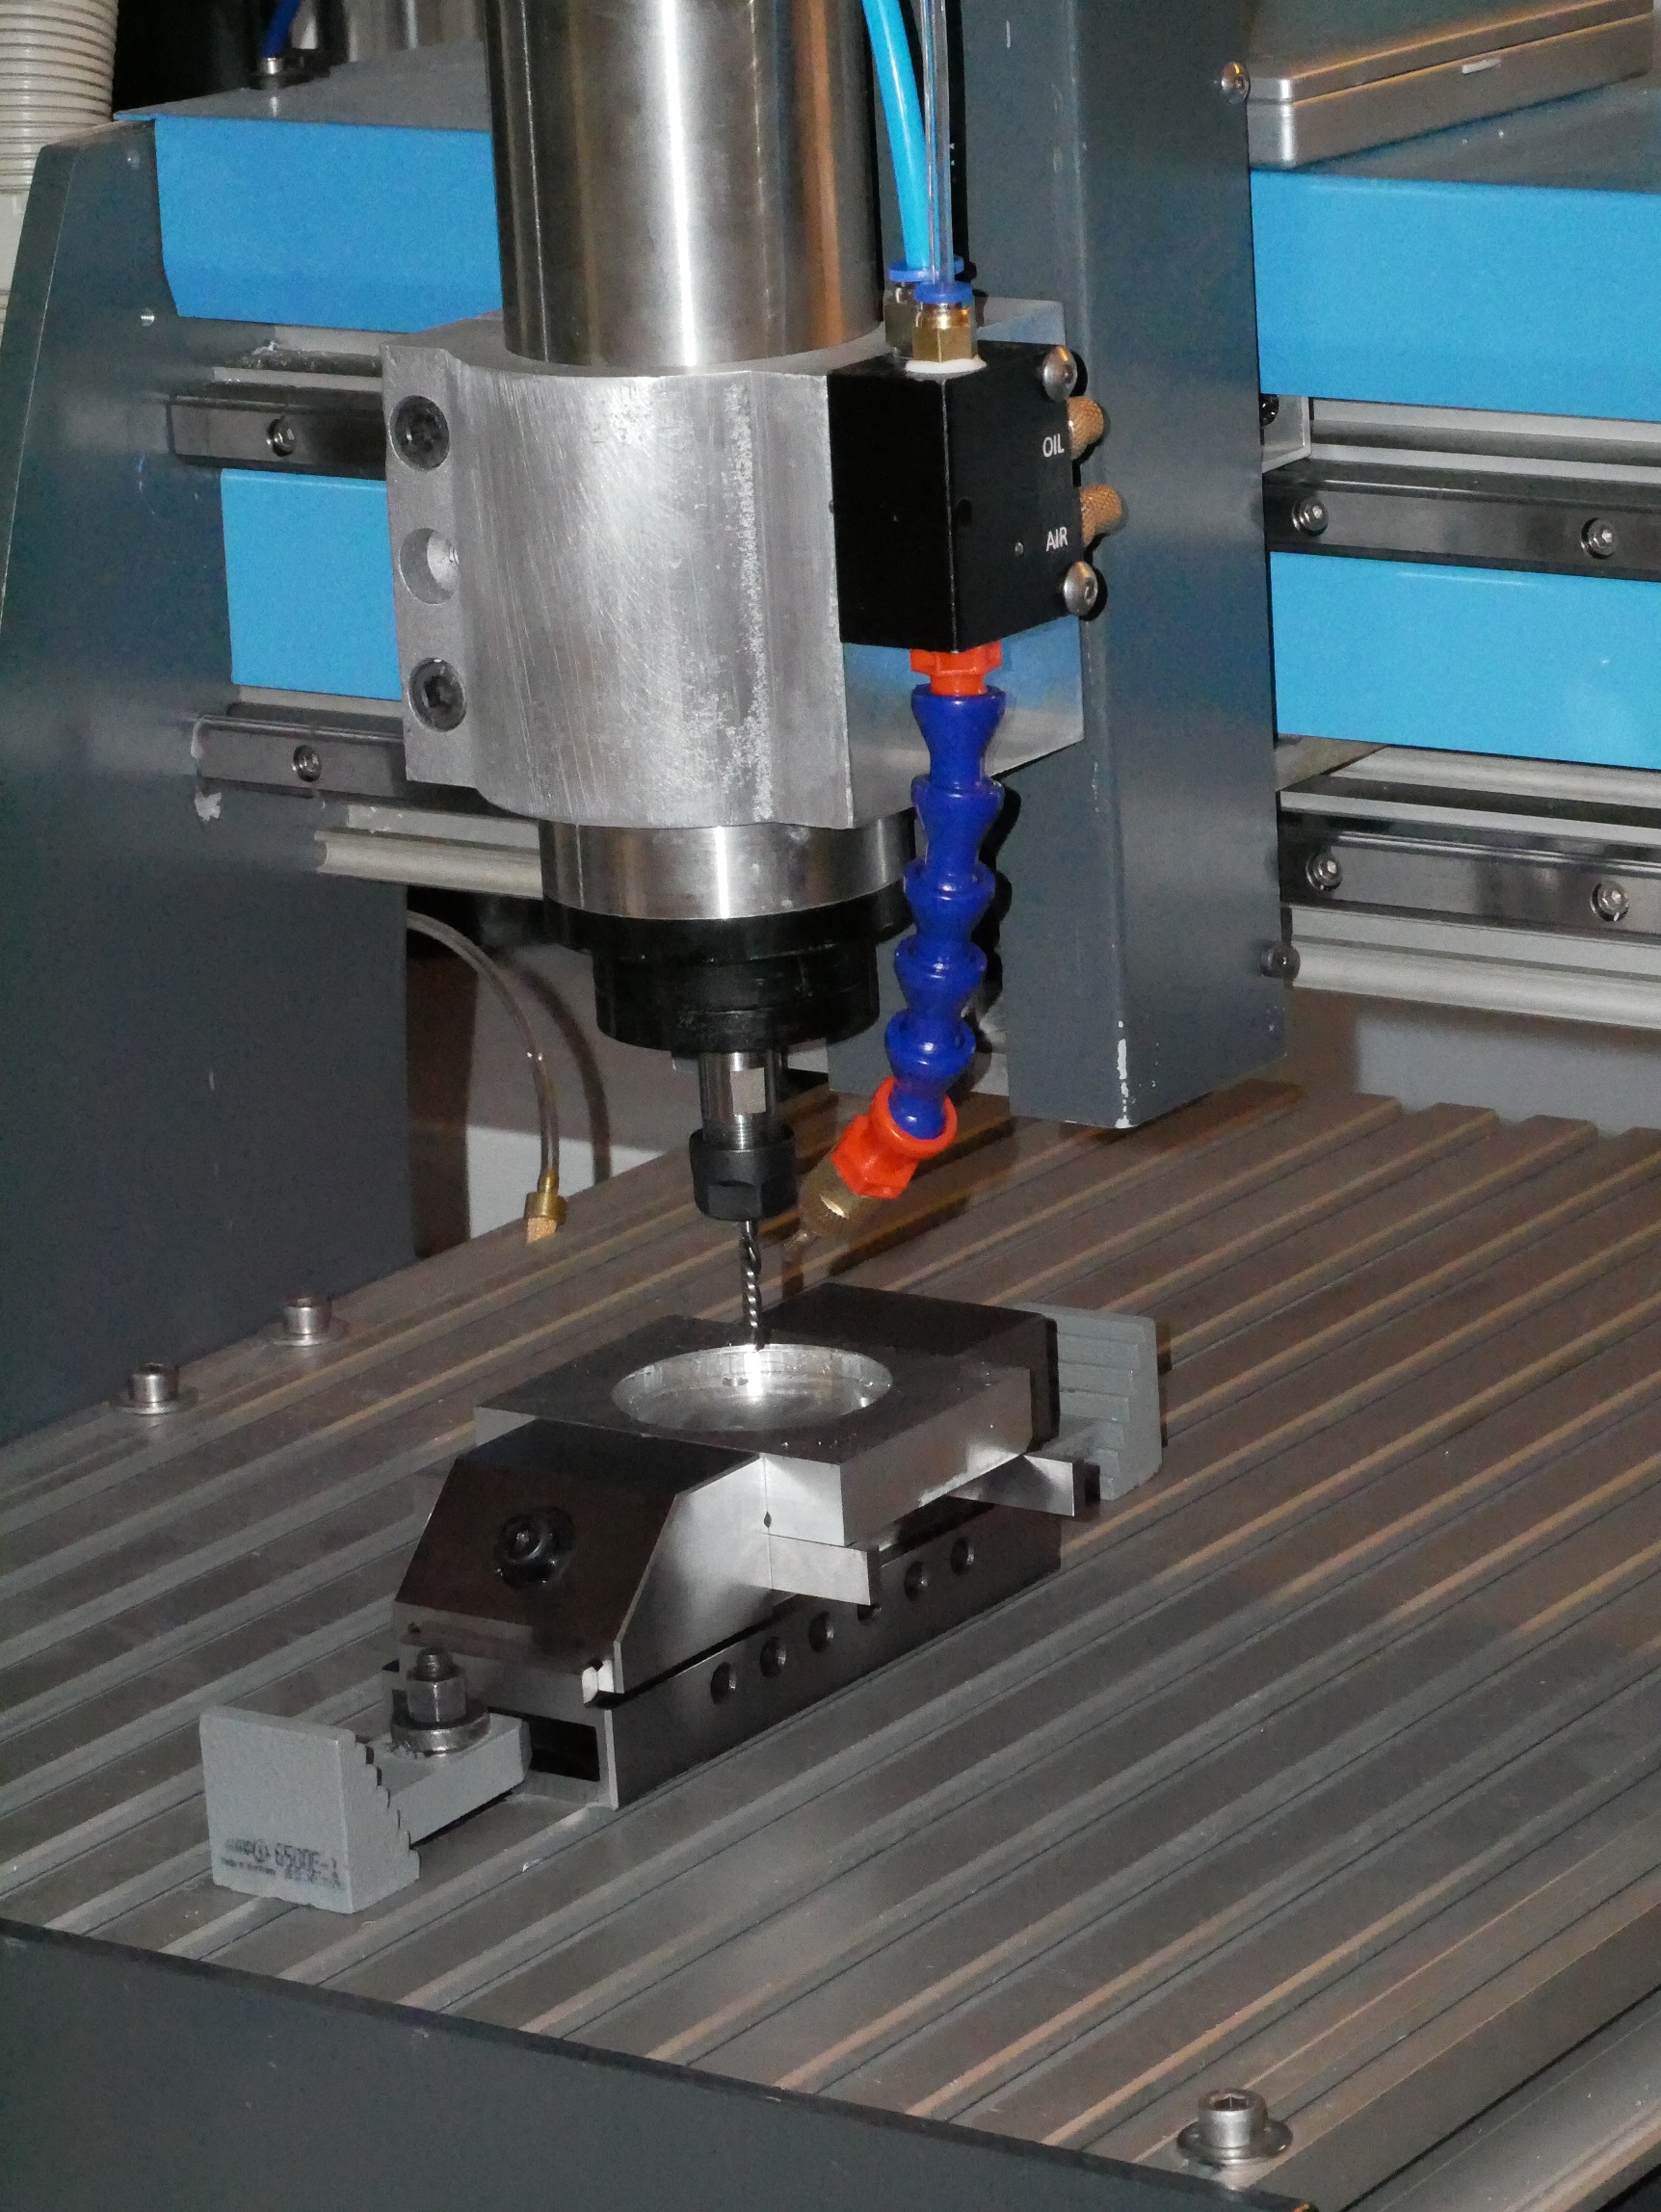
Meanwhile I adapted the original spindle mount. I removed the flanges on the side and made some mounting holes to make it fit on the Z-axis instead of the original back plate that was on the Colinbus.
If I get the time I might change this. It's one big heavy, ugly, block of aluminum but for now this works.
The mist coolant system is another find on Aliexpress. This is a minimal coolant solution, minimal because it uses a minimal amount of coolant instead of a heavy flow of cooling oil. It is good for use with evaporative oils like Shell Fenella VD 201 N but I intent to use it with ethanol, which is perfect for aluminum.
The nozzle contains a venturi valve to evaporate the cooling liquid.
As delivered, the blue tube is way to long and I need to remove most of the links to mount this on my machine. With the venturi valve in the nozzle, this means that there is a separate tube running through the blue part for the liquid. It takes some fidgeting to get the tube mounted on the nozzle again.
The nozzle is highly oversized with a 2mm wall thickness resulting in drops of liquid forming at the end of the nozzle. Nothing that cannot be fixed on the lathe though. Another step forwards.